Kick Power Tracker with CHARGE Power Pack
Data is a powerful tool that gives athletes objective feedback to improve their skills. Want to improve your own soccer kick? Use a micro:bit to track the power of your kicks and find a consistent kicking strength.
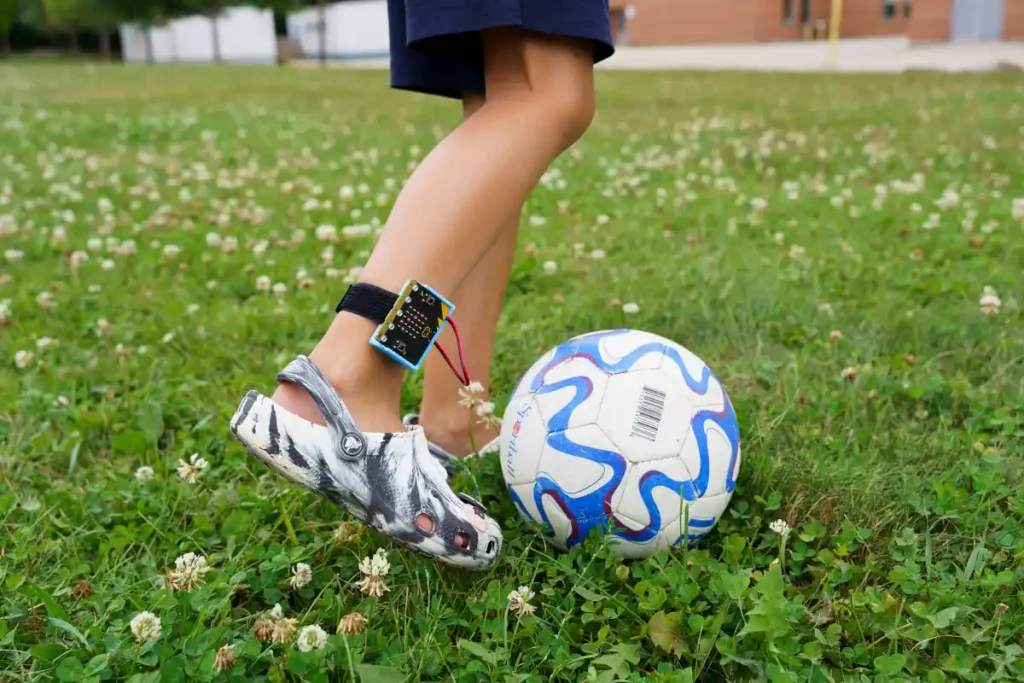
To get started, simply strap the micro:bit to your leg using the CHARGE power pack and kick a ball. The data collected by the micro:bit will help you find the right power level to make your kicks more accurate.
Prepare
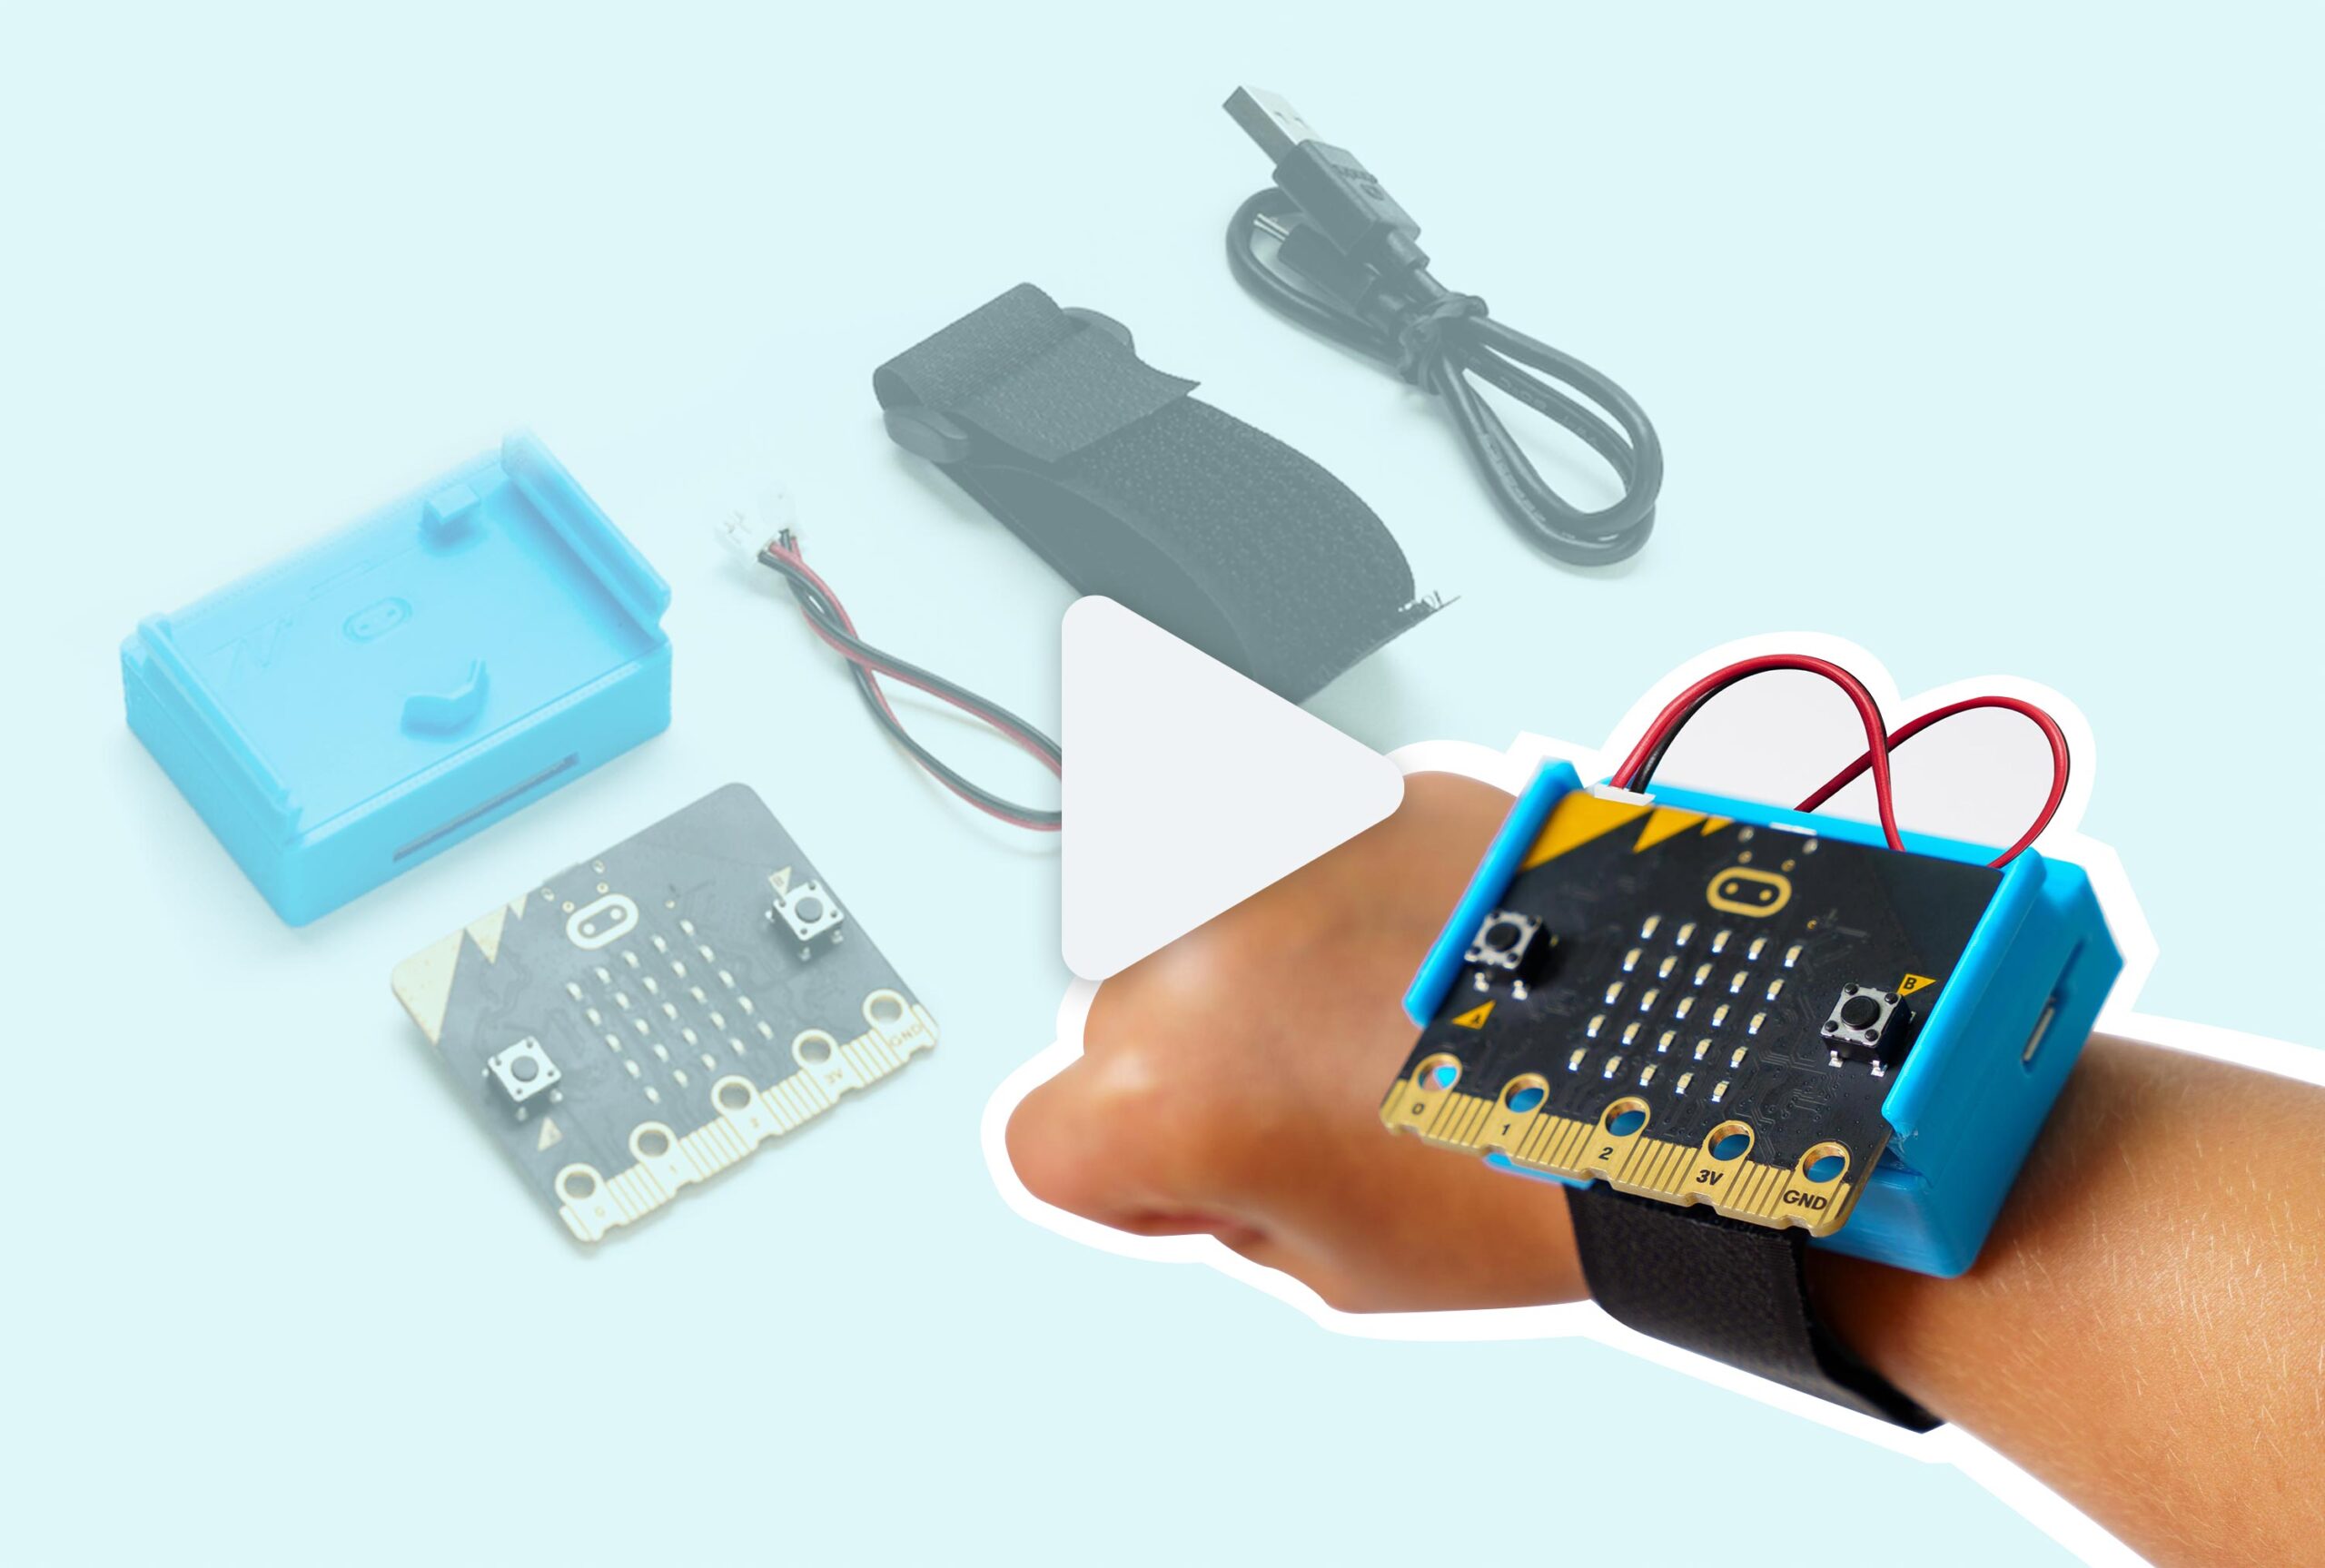
With CHARGE for micro:bit
- micro:bit (V1 or V2)
- USB cable
- Chromebook, laptop, or desktop
- Access to MakeCode
- CHARGE w/ wrist strap
Without CHARGE
- micro:bit (V1 or V2)
- USB cable
- Chromebook, laptop, or desktop
- Access to MakeCode
- power bank or battery pack
- wrist strap, clips, or elastic bands
Code
- Open makecode.microbit.org
- Extension drawer: add “Data Logger”
- Delete “forever” codeblock
- Input -> more drawer: add “set accelerometer range 1g” to “on start” and set 1g to 8g.
- Variables drawer: “Make a Variable” and name it something like logging
- Variables drawer: add “set logging to 0” below “set accelerometer”
- Logic drawer: grab <false> and drop it onto the 0 in “set logging to 0”
- Basic drawer: add “show icon [heart]” below “set logging to false” and change the [heart] icon to an X
- Data Logger drawer: add “set columns ___ +” and fill the blank with “strength”
- Input drawer: add “on button A pressed”
- Copy & paste “set logging to false” place block into “on button a pressed” and change false to true.
- Copy & paste “show icon X” place block under “set logging to true” and change the icon to a check mark.
- Copy & paste “on button A pressed” change A to B (it should become full colour again)
- In the “B pressed” code, switch True to False and the icon back to an X
- Data Logger drawer: add “on log full”
- Copy & paste “set logging to false” into “on log full”
- Copy & paste “show icon” and change it to something to represent the micro:bit is full and can’t collect anymore data.
- Plug in your micro:bit, pair, download your code and test!
Or experiment with the finished code here:
Test
Now attach the micro:bit to your leg, press A to start tracking. Remember to keep track separately or in your head which kicks hit your target (for example, the first and the third out of 4 total kicks went into the net). After you’ve collected some data, head over to a computer to have a look. When you plug in the micro:bit, head over to your file explorer or finder and open the MY_DATA.htm file. This should open in a browser and will allow you to look at the data you’ve collected so far. It will come up as a table of data; to make it easier to read, select “Visual Graph” to see the spikes of acceleration when you kicked the ball. Now compare each of the spikes with each other and if they hit the target.
Improve
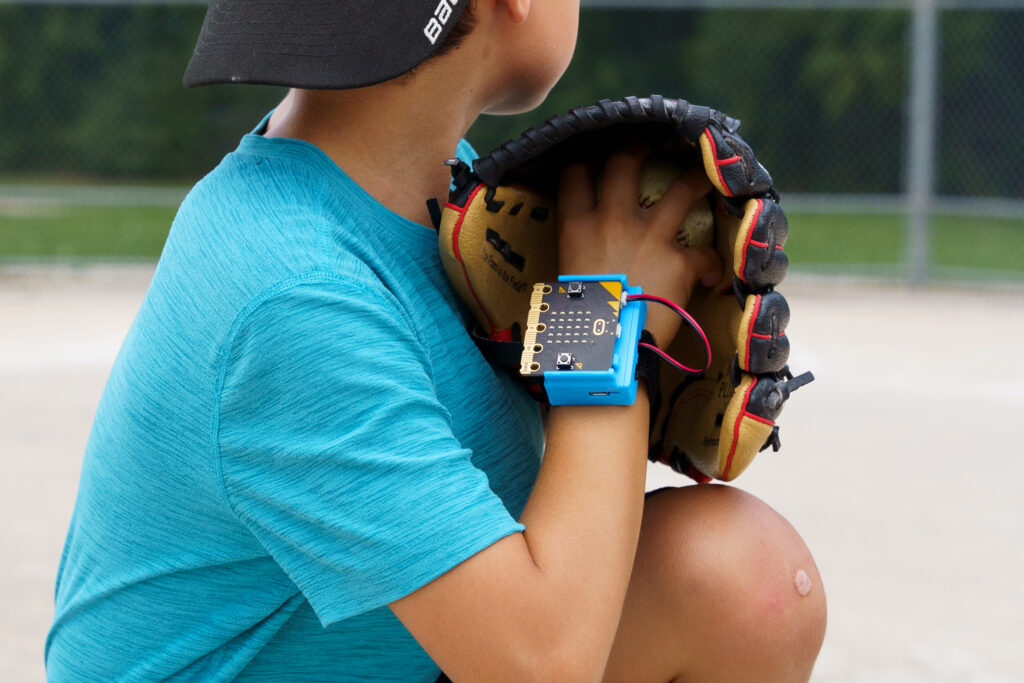
Can you think of other sports you could wear the CHARGE power pack and micro:bit to collect data? Or sports you could attach the CHARGE and micro:bit to the equipment?
How about if you want to track multiple people’s data without needing to download the data after each session? Here’s some advanced code that covers multi-round data logging:
You can also turn the CHARGE power pack or micro:bit off between rounds. This will continue to put data into your MY_DATA.htm file but the visual graph will only show the first set of data. You’ll have to take your data into another software like Google Sheets or Microsoft Excel to visualize and process the data further.
Related Content
-
CHARGE for micro:bit Assembly Guide
Step-by-step guide on how to insert your micro:bit into the CHARGE battery pack. -
Indoor-Outdoor Thermometer with CHARGE Power Pack
Check the outside temperature remotely with 2 micro:bits and CHARGE power packs. -
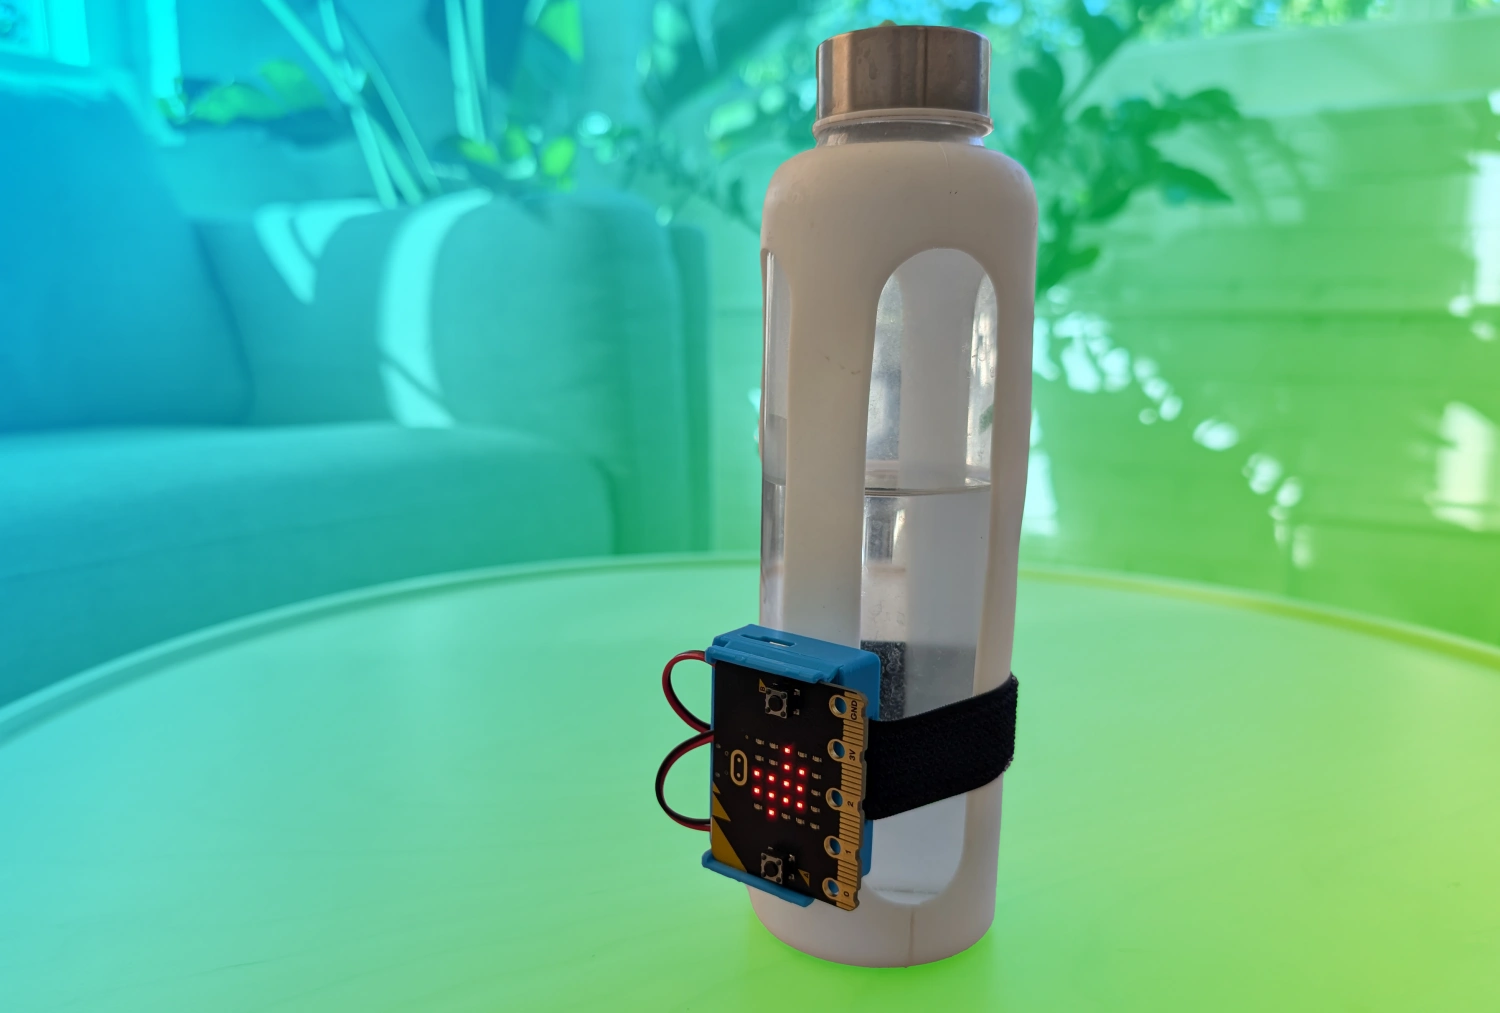
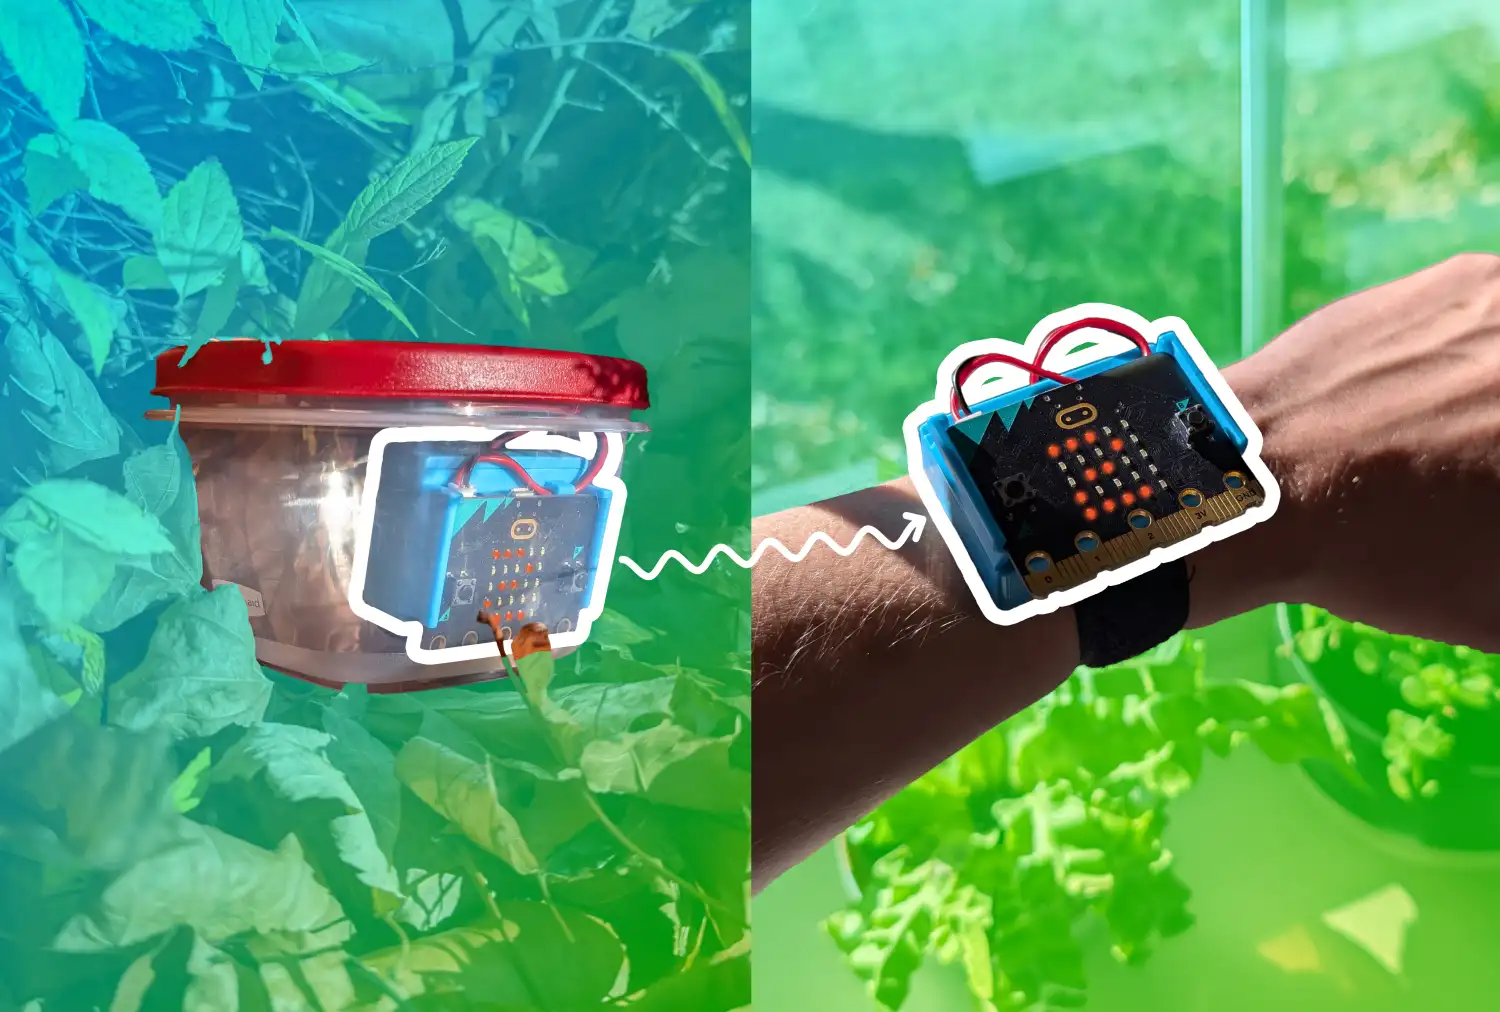
Water Bottle Signal with CHARGE Power Pack
Strap micro:bit and then CHARGE power pack to your water bottle and have it notify you if someone takes a drink.
Feeling Stuck? Explore the Knowledge Base for common questions and troubleshooting tips.