Guitar with CHARGE Power Pack
Guitars come in many different styles and sizes, and are used by musicians to create melodies and rhythms! By holding different positions on the strings while strumming, you create different musical notes for listeners.
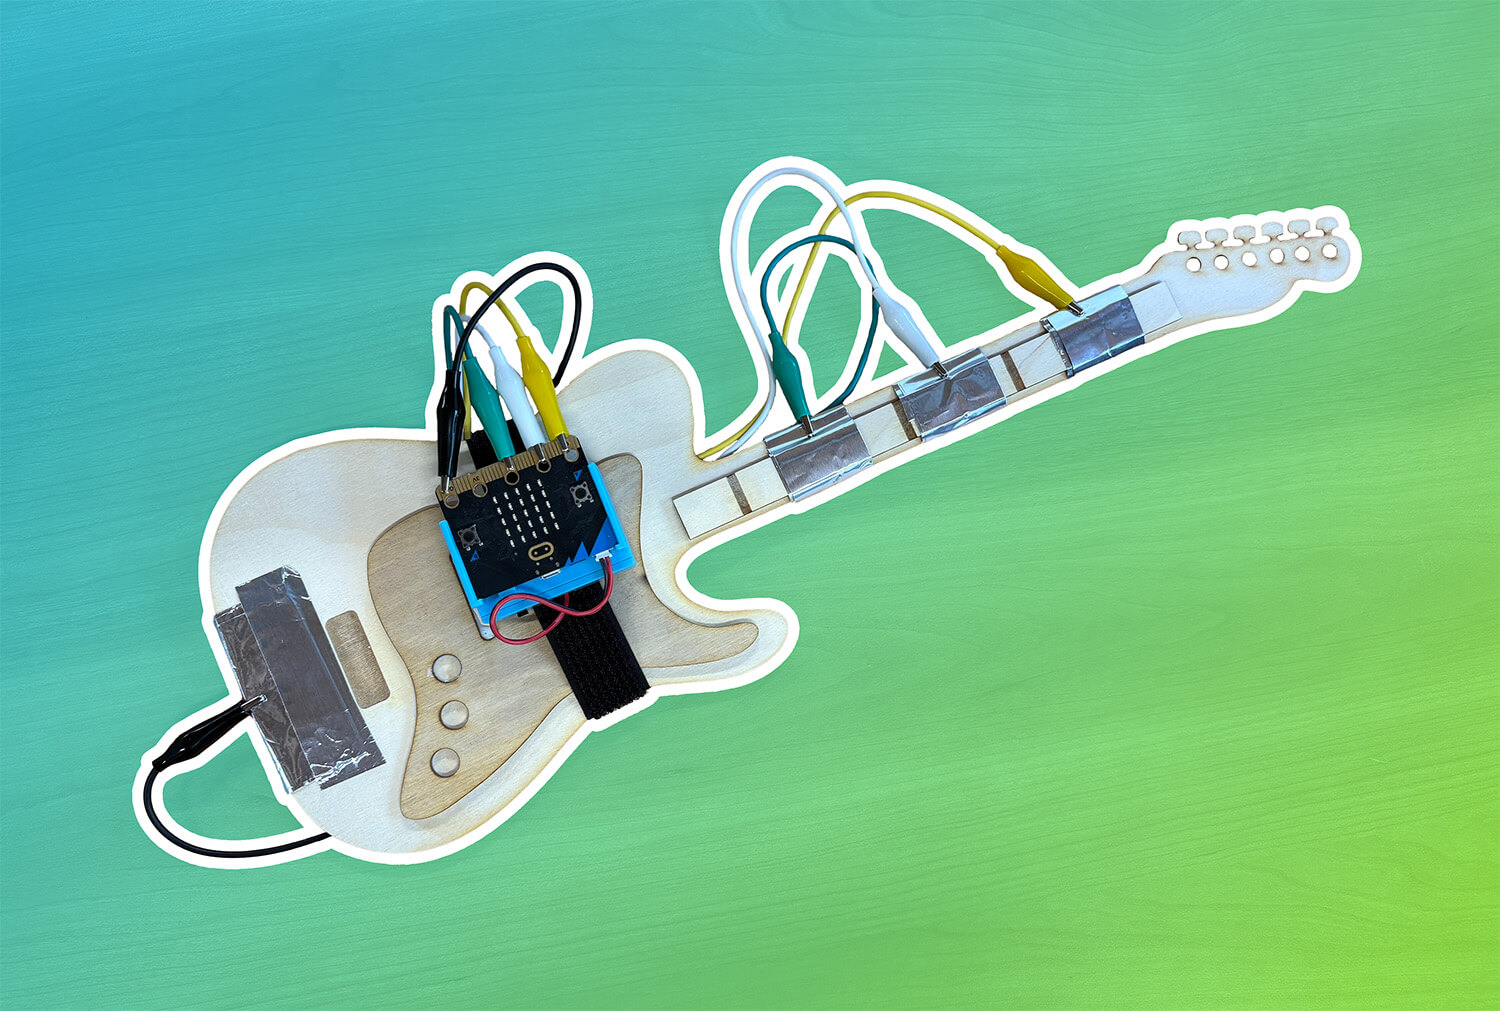
Let’s get musical and create an electric guitar to rock out with!
The guitar in the project will:
- play a note when pressing the ground and a tinfoil button at the same time
- display an icon on the micro:bit as a note plays
- play a melody when pressing the A button on the micro:bit

Prepare
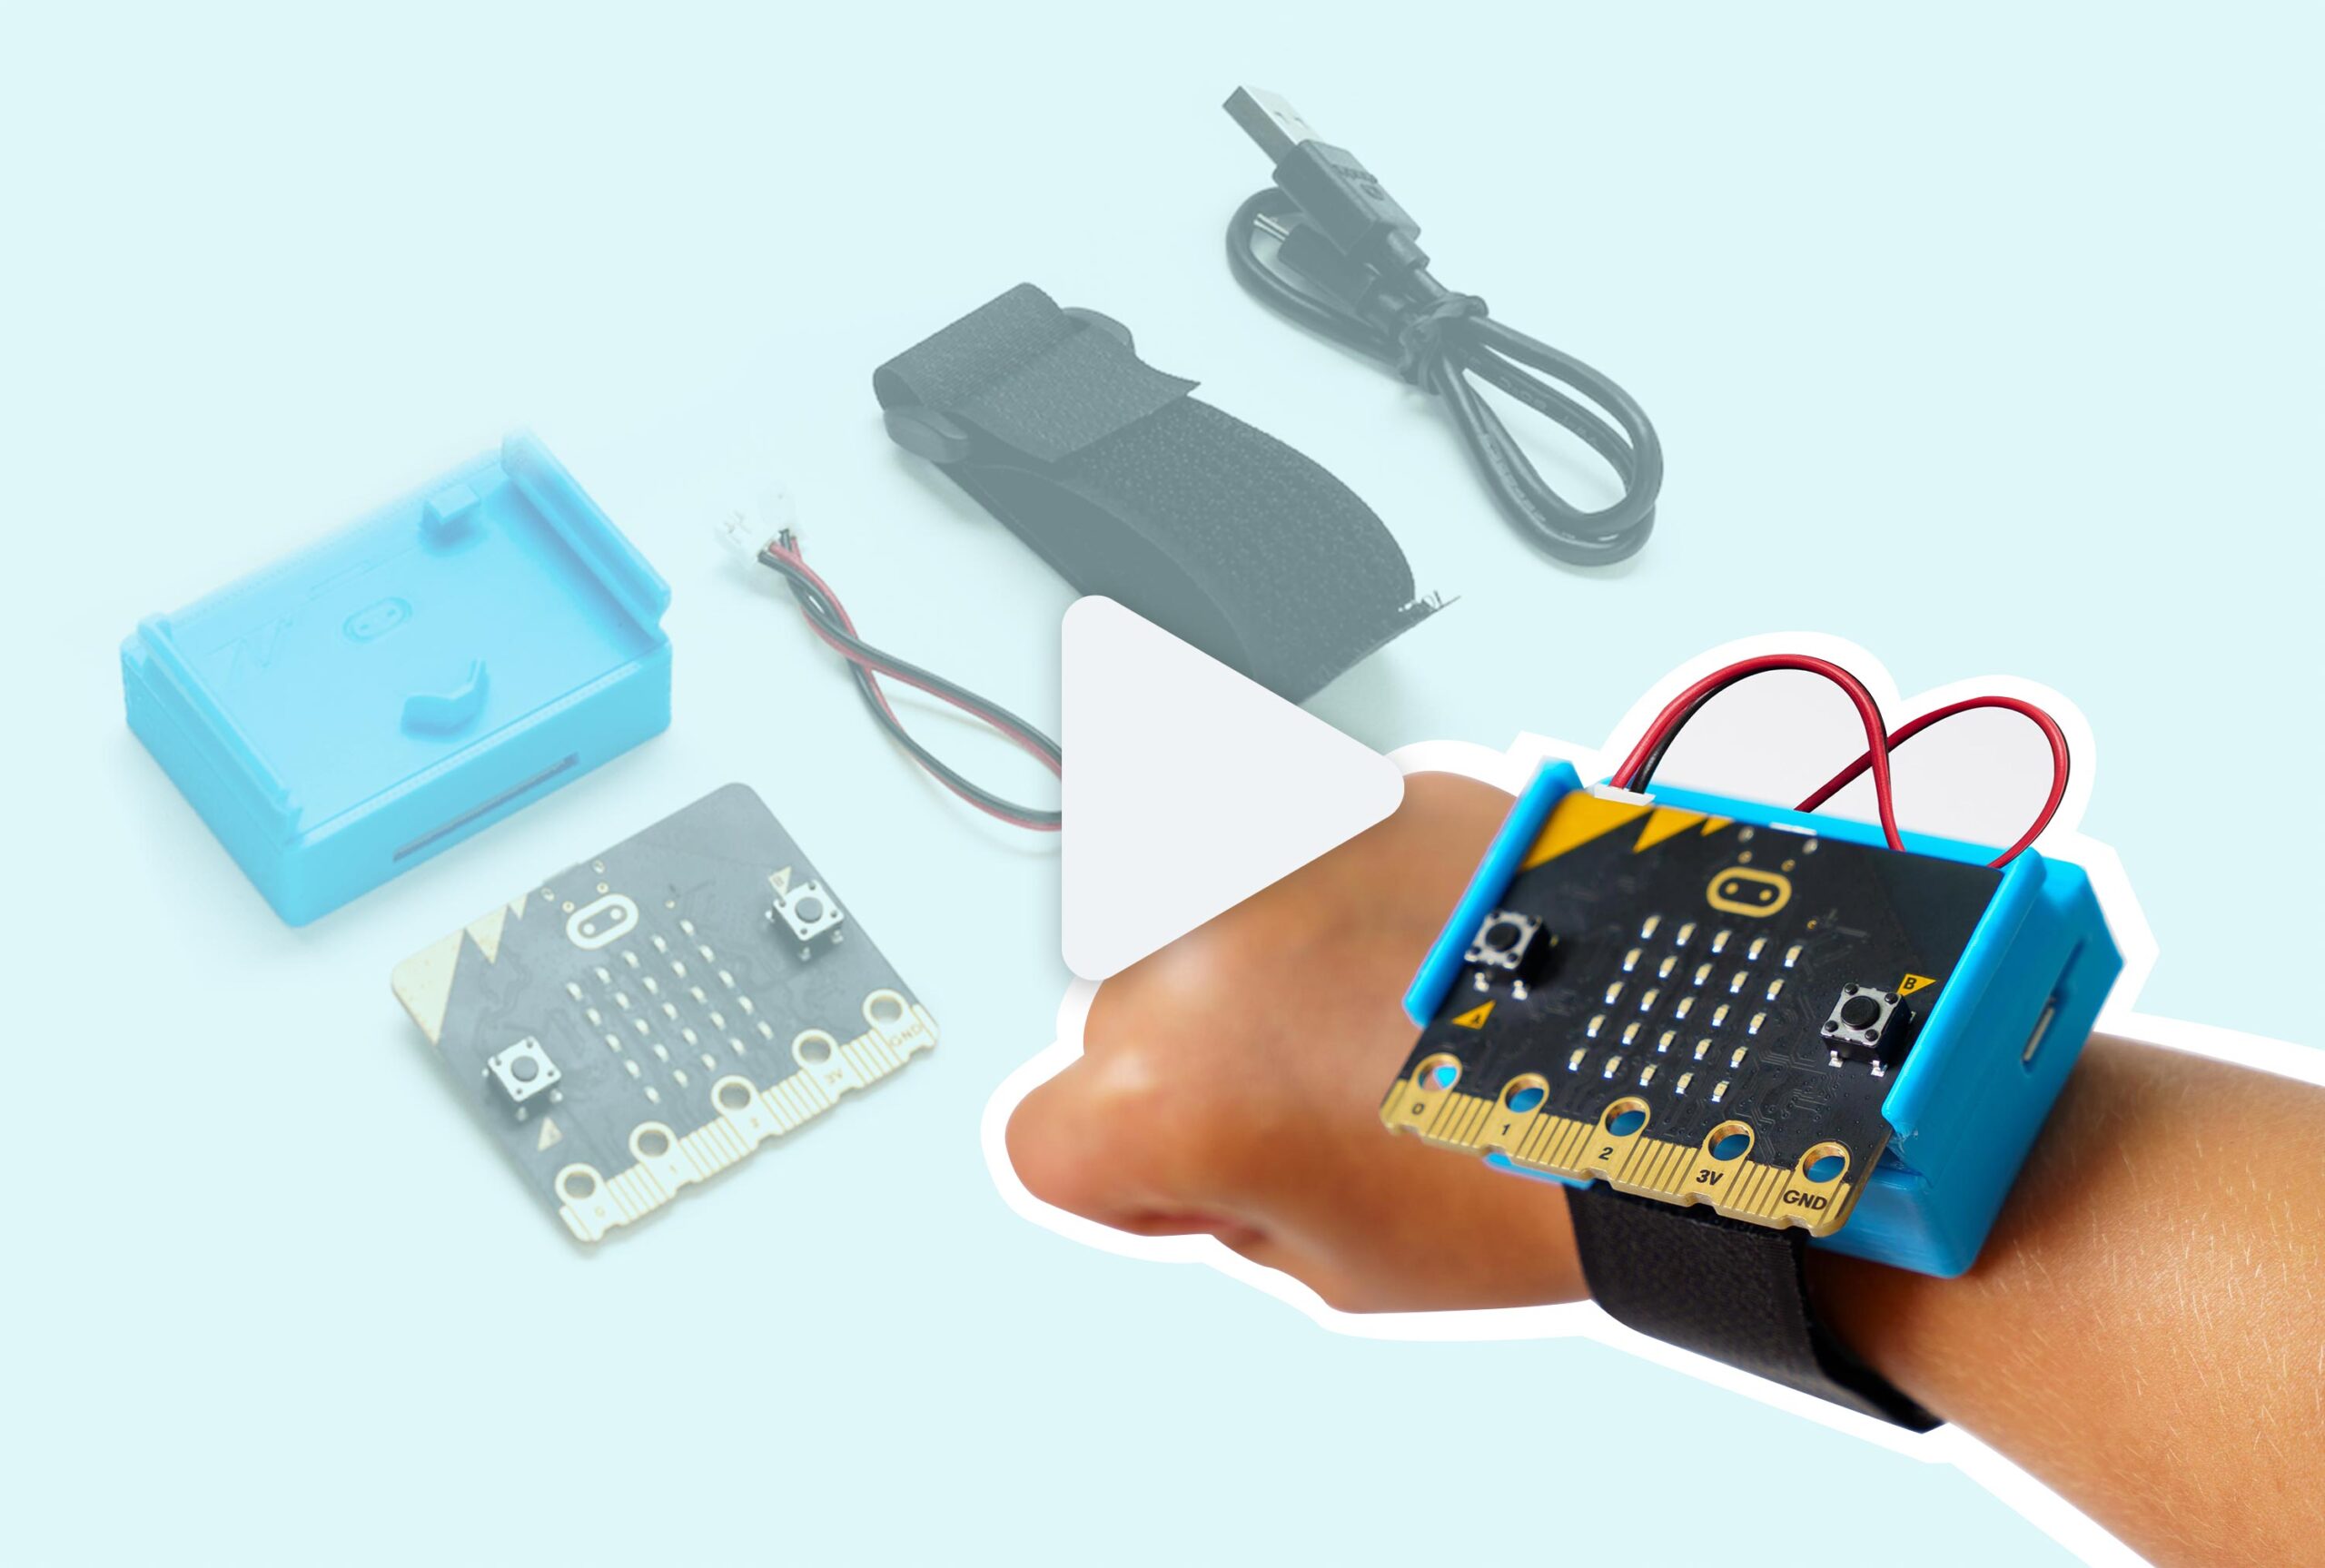
You’ll need the following items to complete this project:
- CHARGE for micro:bit or micro:bit GO pack with batteries
- micro:bit V2
- A laser cutter, a sharp cutting knife, or scissors
- 3mm Baltic birch wood, or recycled materials
- 4 alligator clips
- Tin foil
- Glue
Build
First, you’ll need to cut out the pieces of your guitar from your chosen material:

Laser or Machine Cutter
Cut out the shape of the guitar using the file provided.
We recommend using 3mm Baltic birch wood for your frame, but feel free to get creative and make it your own.
Craft Knife or Scissors
If you don’t have access to a cutting machine, print the template and glue it to your desired material to create your frame.
To keep your project eco-friendly, try using recycled cardboard.
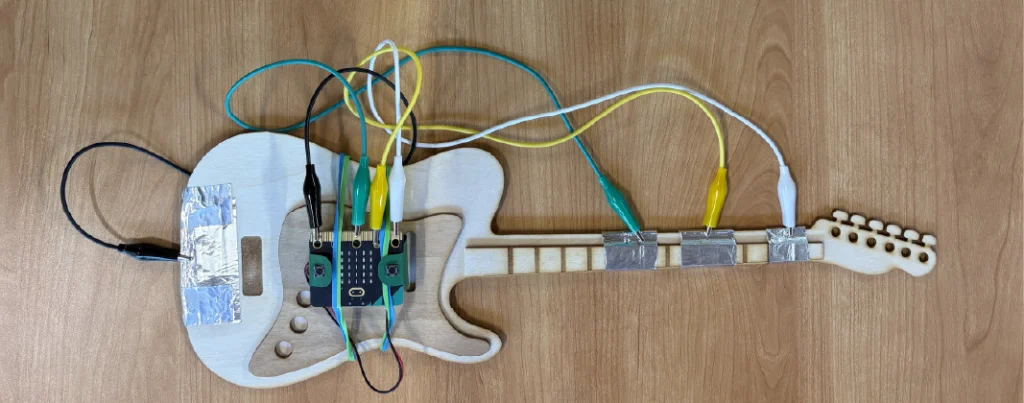
Assemble your Guitar
Next, let’s build our guitar using the micro:bit, CHARGE for micro:bit, alligator clips, and craft materials:


As you build, think about how your alligator clips are attached, the size of your guitar, and any personalization you want to add to your instrument!
Code
Explore the code below to get started using your guitar.
- Connect your project to the computer and download the starter code to make it work!
- Review the code comments on each block to learn about how your guitar works, then try testing it in real life.
Improve
Think about how you can decorate and adapt your guitar! How would you modify the sample code provided, or create your own project that includes the following features?
- A guitar strap or other decoration
- A reaction when using the “on shake” event
- A reaction when you play notes in a specific order
Don’t have a CHARGE for micro:bit?
Modify this project by attaching your micro:bit to your guitar frame using elastic bands.
Make sure your micro:bit has power using batteries or a computer connection so that you can still jam out with your friends.
Related Content
-
CHARGE for micro:bit Assembly Guide
Step-by-step guide on how to insert your micro:bit into the CHARGE battery pack. -
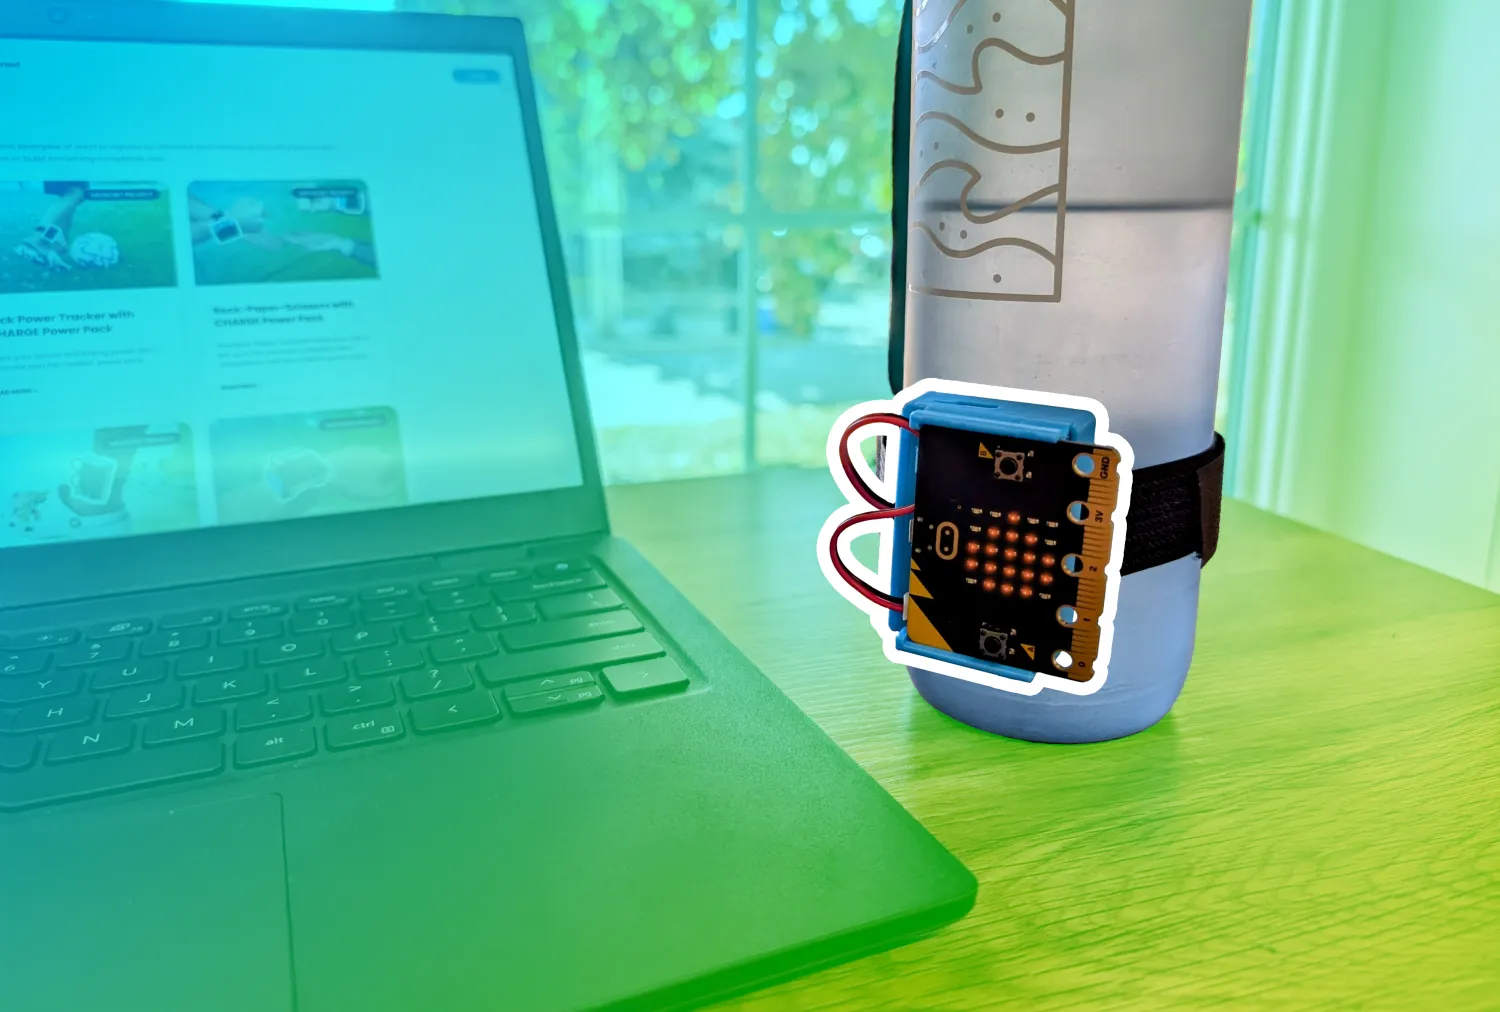
Hydration Alert with CHARGE Power Pack
Get reminded to drink water with this micro:bit interval alarm. Attach it to your water bottle easily with the CHARGE power pack. -
Rock-Paper-Scissors with CHARGE Power Pack
Play Rock-Paper-Scissors where your fate is left up to the micro:bit to decide! Use it conveniently with the CHARGE power pack.
Feeling Stuck? Explore the Knowledge Base for common questions and troubleshooting tips.