Chuck-a-Duck CreateAI Game
In this project, we will build a fun game called ‘Chuck-a-Duck’ that functions similarly to the game ‘Hot Potato’. To create this game, we will use the micro:bit and CreateAI to build a machine learning model that can recognize when the duck is flying versus when it has been caught. We will then expand on this by adding sounds to represent each action, and even utilize the radio function of the micro:bit to enhance the game.
This video tutorial is divided into four main parts:
- Set Up: Recording data samples & training your model
- Activity 1: Coding sounds for each action
- Activity 2: Hot potato game
- Activity 3: Using the radio function between two micro:bits
You can choose to complete all four progressions of the project, or just some. If you’re in a hurry, download and use our finished code using one micro:bit.
Prepare
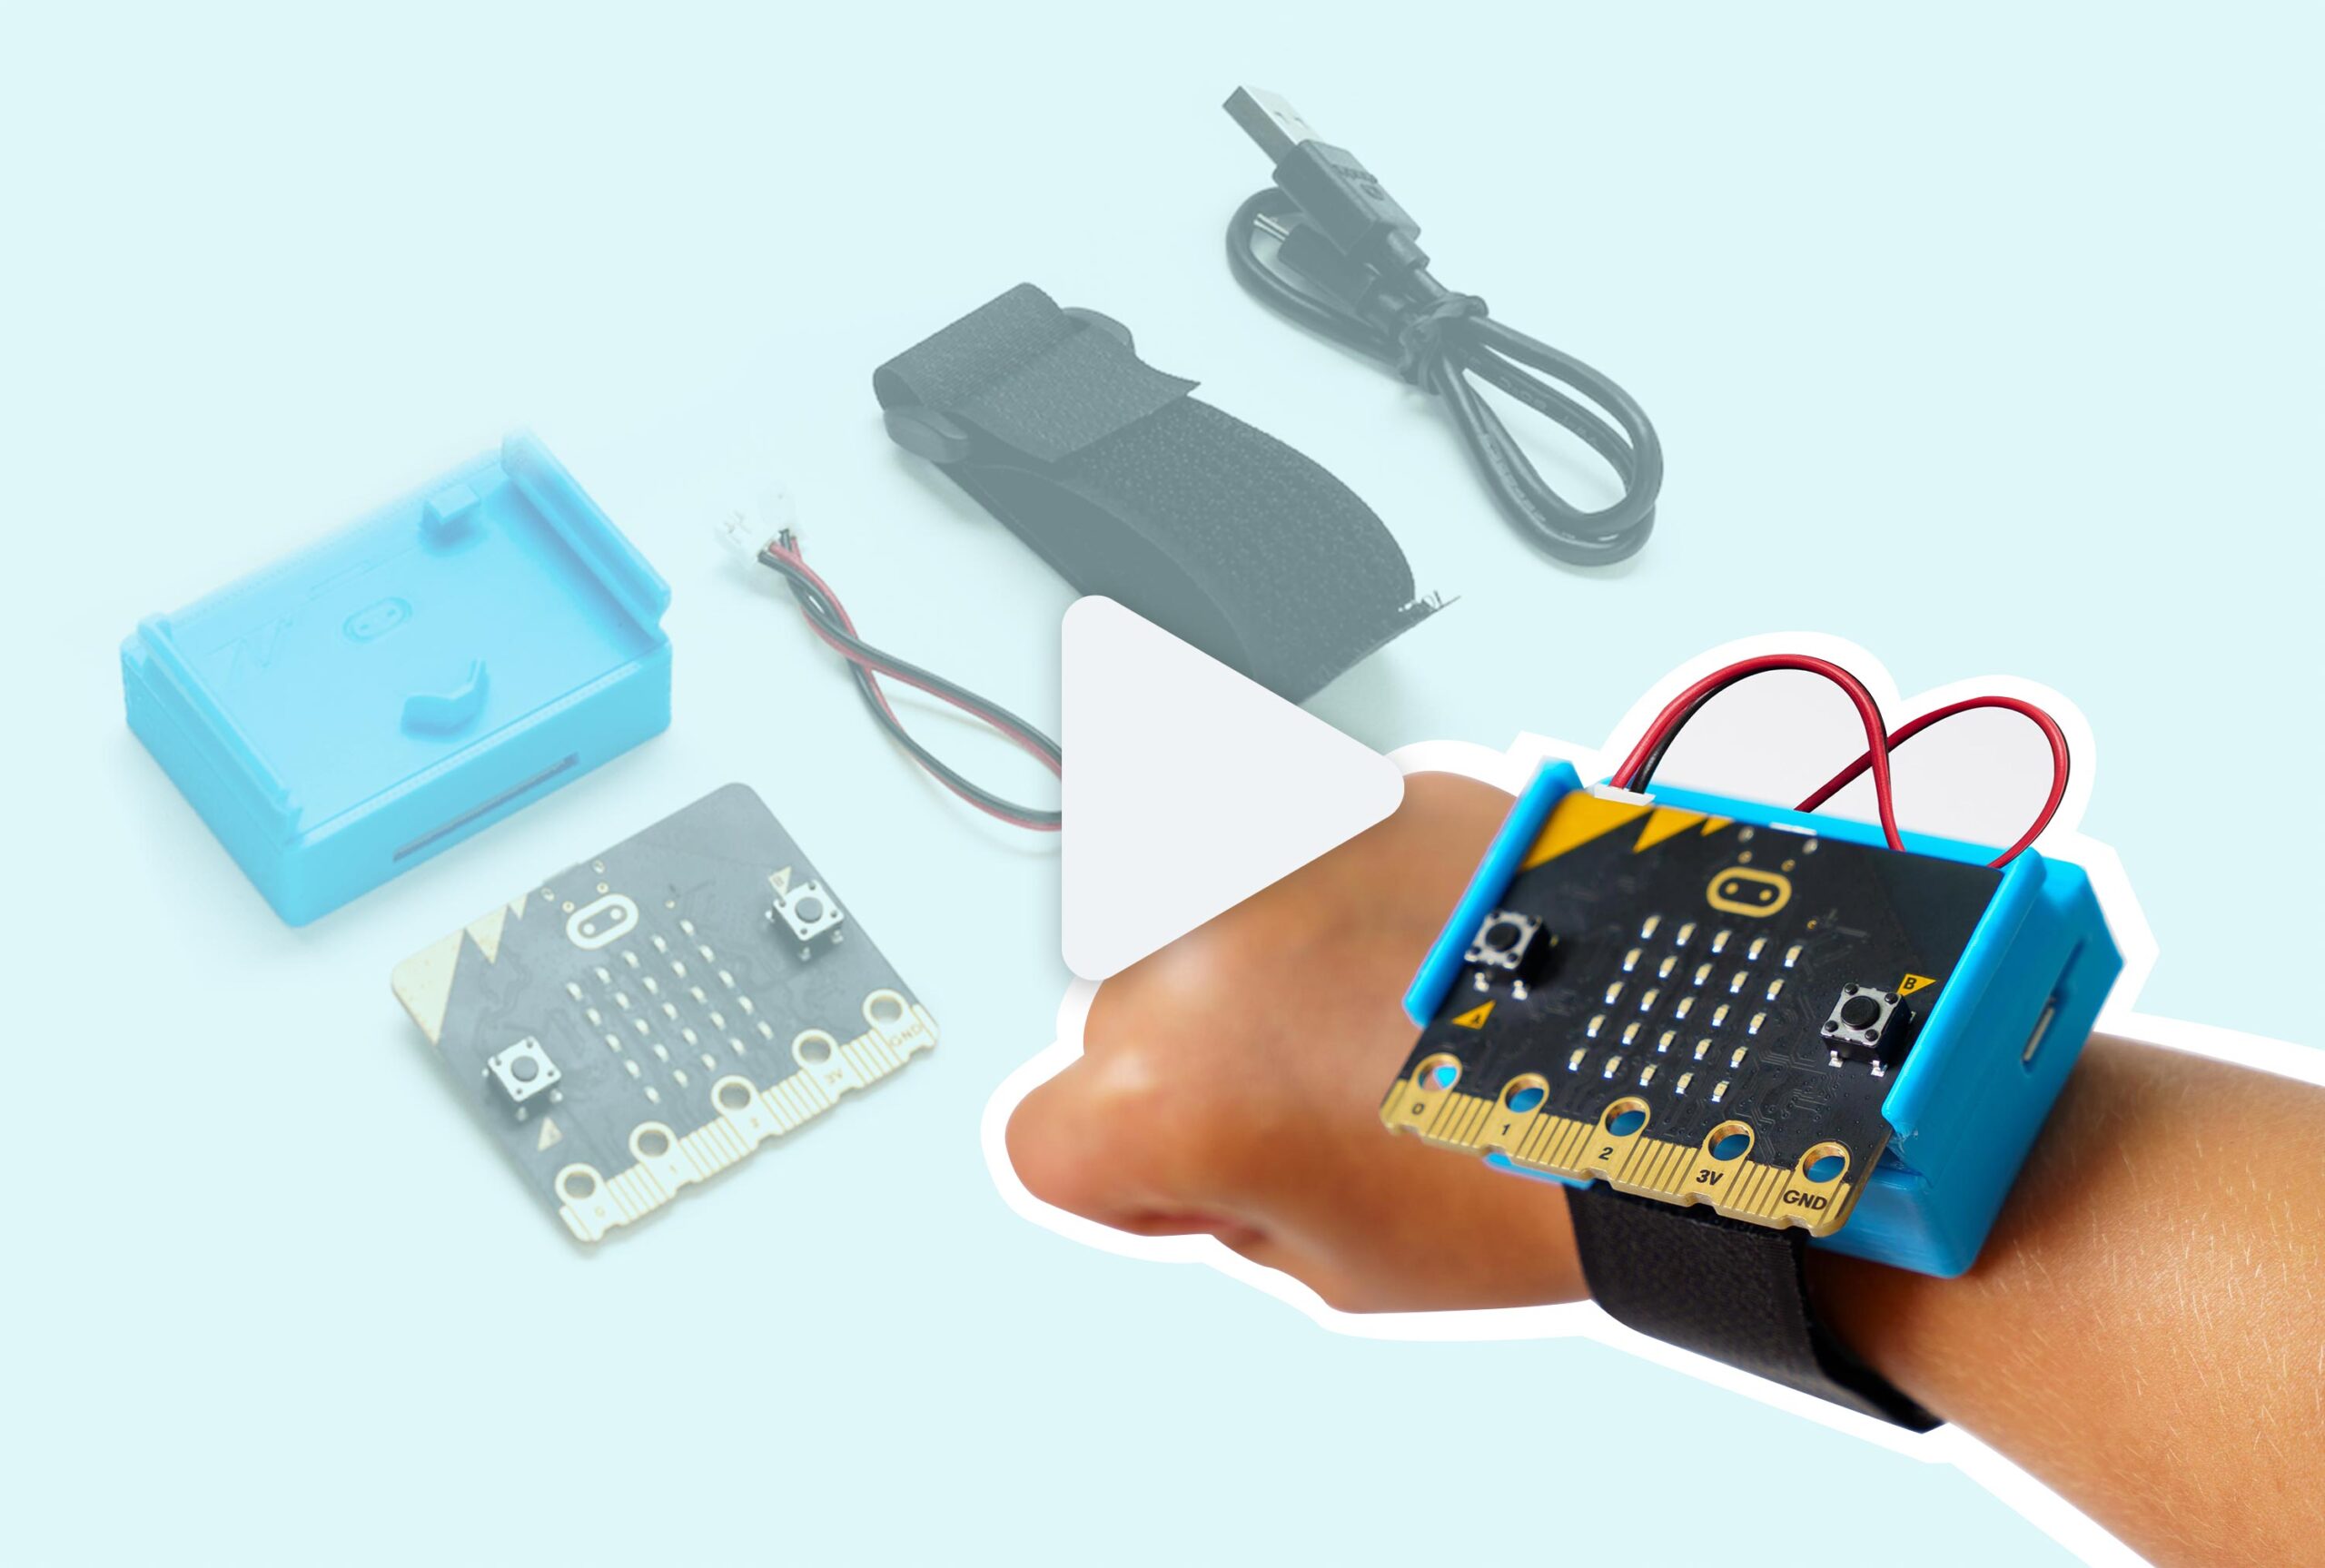
You’ll need the following items to complete this project:
- 1x micro:bit V2
- Note: We recommend 2x micro:bits to enhance this activity.
- 1x CHARGE for micro:bit
- micro USB cable
- Computer with access to CreateAI or Microsoft MakeCode
- Optional: Stuffed animal or soft object to hold the micro:bit when throwing
Play
Try out the game yourself by downloading the starter code directly to your micro:bit. This starter code includes pre-trained actions, allowing you to get started playing the Chuck-A-Duck game right away!
Code & Modify Your Own
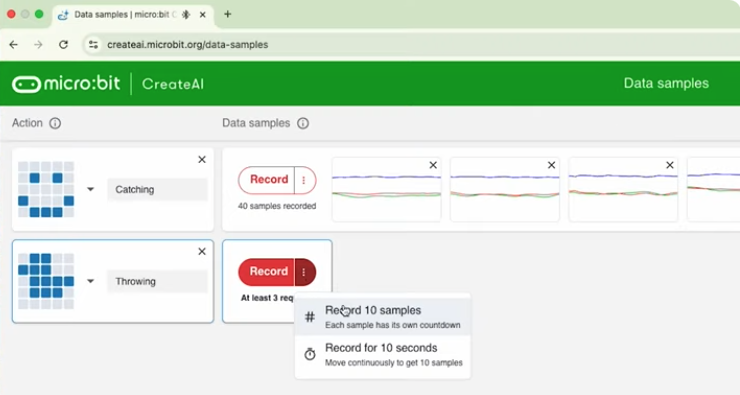
Record Data Samples
Go to CreateAI and start a new project. After connecting and wirelessly pairing your micro:bit, record a series of ‘resting’ or ‘catching’ data samples, as well as ‘throwing’ data samples. Be sure to account for all the different possible variations of catching or throwing. The more samples you record, the more accurate your machine learning model will be.
Train and Test the Model
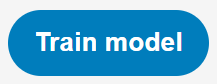
After you’ve recorded all your samples, click the ‘Train Model’ button. The program will then go through a process of analyzing each of the samples to recognize patterns.
Follow along with this section of the tutorial video, or review the instructions below to train your model.
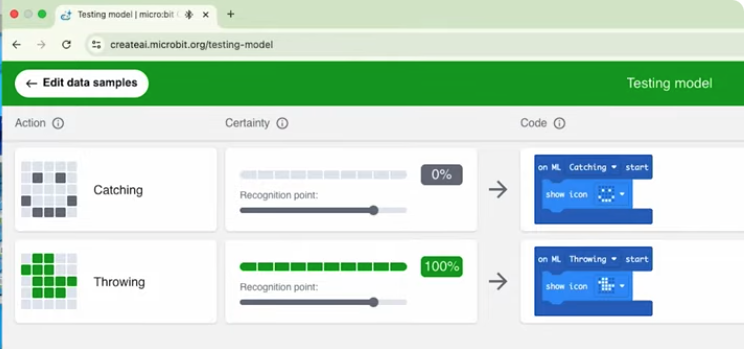
After training is finished, you will be presented with a screen that displays the percentage of certainty for each action. Test your actions to see if the machine learning model is accurately predicting each movement. If it’s not, you may need to go back and add additional samples by clicking ‘Edit Data Samples’.
Improve
Think about additional features you could add to your project! How would you modify the sample model and code provided, or create your own that includes the following features?
To get started, we’ve modified our code below to control two micro:bits using radio functionality.
Follow along with the video, or download the final code to each micro:bit:
- Duck micro:bit code > sends a message when the micro:bit is thrown
- Computer micro:bit code > makes a sound when receiving the message from the duck micro:bit
- “Duck” micro:bit Code
- “Computer” micro:bit Code
Think about what else you might want to modify to enhance to your program:
- Add sounds that play when each action occurs
- Add a random variable to create the hot potato game
- Use the radio function to relay any sounds or LEDs to another micro:bit
Related Content
-
CHARGE for micro:bit Assembly Guide
Step-by-step guide on how to insert your micro:bit into the CHARGE battery pack. -
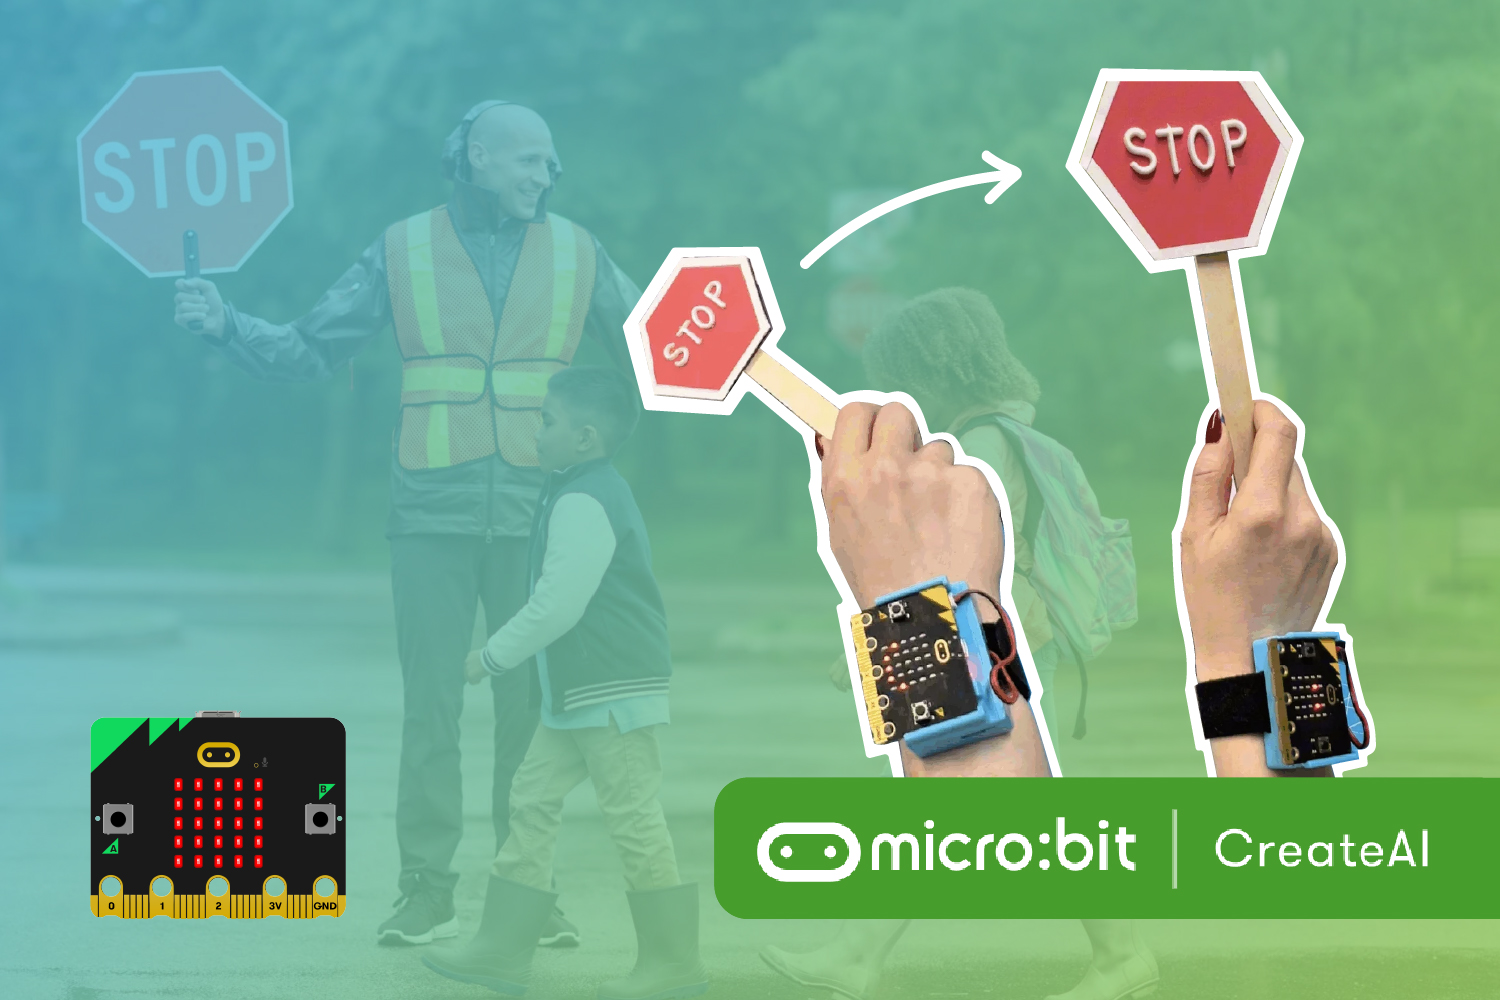
Crossing Guard AI Station
Build a machine learning model with micro:bit and CreateAI that controls a crossing station! -
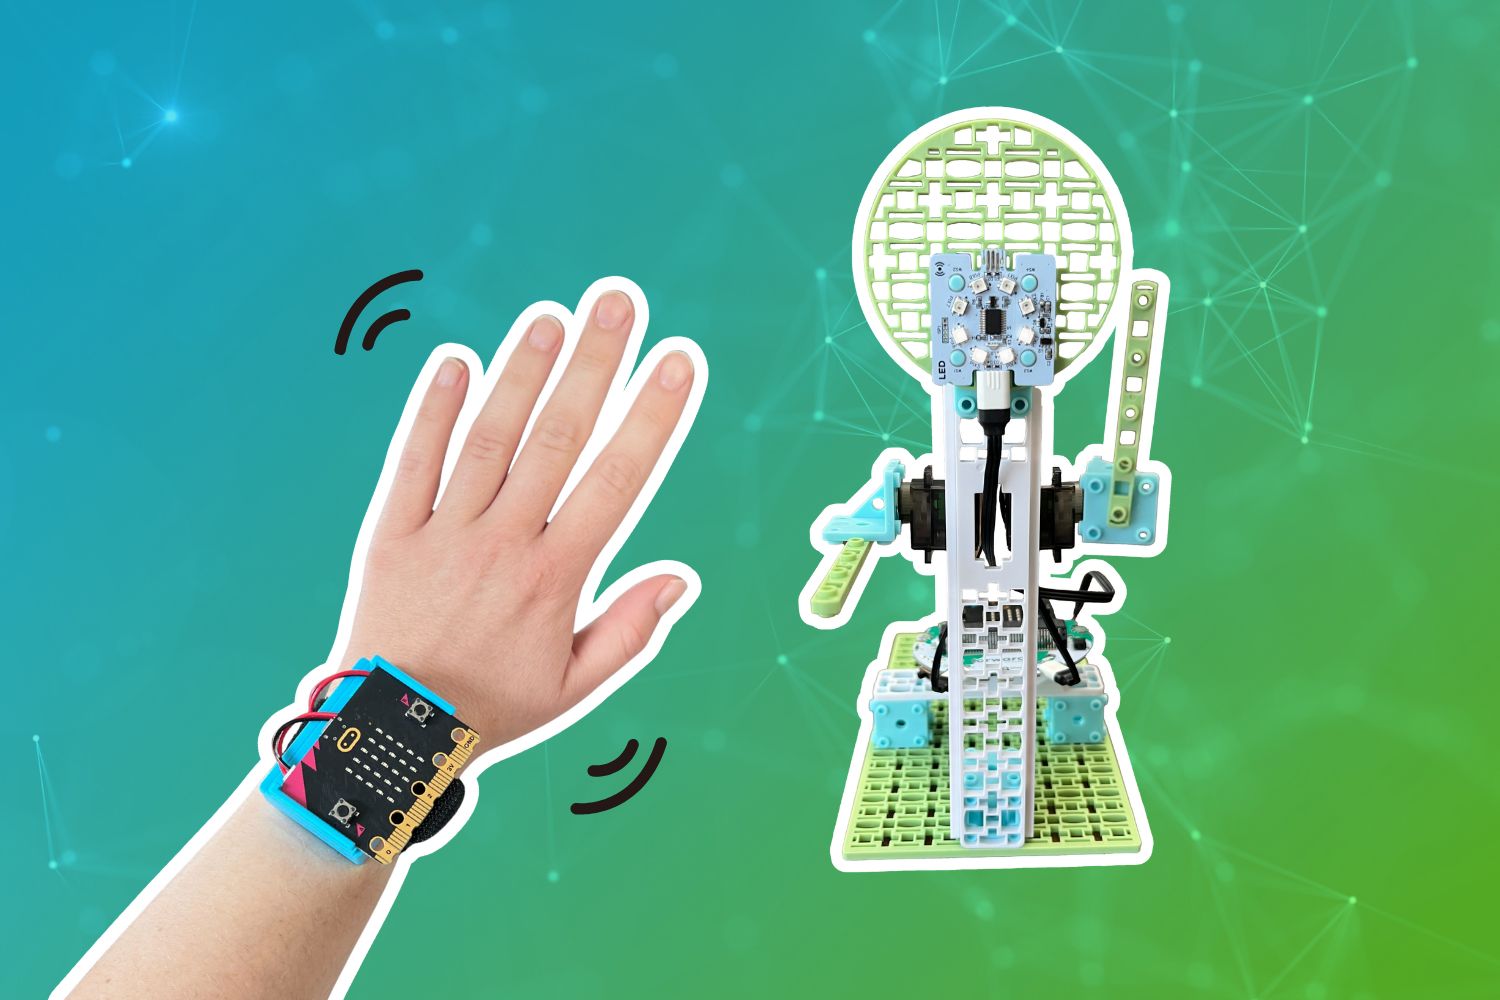
CreateAI Robot Friend
Program a robot friend that can mirror your actions using AI!
Feeling Stuck? Explore the Knowledge Base for common questions and troubleshooting tips.