Training a Machine Learning Model with CreateAI
CreateAI is a free, web-based tool that makes it easy to explore artificial intelligence with micro:bit. In this tutorial, you’ll learn how to use CreateAI to train a machine learning model using accelerometer data from your micro:bit. We’ll train the model to recognize different physical actions, like a wave, a thumbs-up, or jazz hands, which you can then use to control other projects.
Materials
- micro:bit (V2)
- Power source for the micro:bit, like the CHARGE for micro:bit
- micro USB cable
- Computer with internet access
Instructions
A video walk-through of this tutorial is available here:
Step 1: Connect micro:bit to CreateAI
First, we need to establish a connection between our micro:bit and CreateAI.
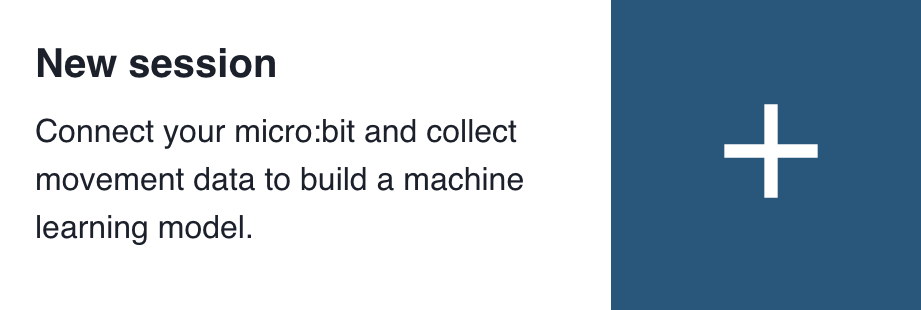
Open the CreateAI dashboard and select ‘New Session’.
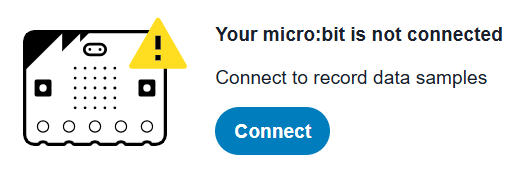
You’ll be prompted to connect your micro:bit with a micro USB cable. Follow the on-screen instructions to pair your device.

Once your program download is complete, disconnect your micro:bit from your computer and attach it to a separate power source like the CHARGE!
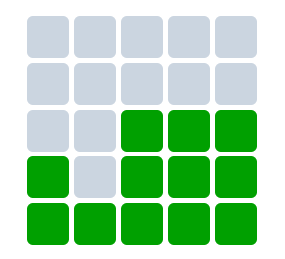
You will then be prompted to connect the micro:bit via Bluetooth. Match the pattern on the micro:bit’s LED display to the grid on the CreateAI window and accept the prompts to pair.
Step 2: Collect Data Samples
Once your micro:bit is wirelessly connected, you’re ready to collect some data! We’ll start by labeling different actions we want the model to recognize, then adding some sample data for what each action looks like.
Remember: CreateAI uses the micro:bit’s accelerometer to detect different actions. As you move your hand throughout the activity, you’ll see a live data graph showing its movement along the X, Y, and Z axes, which represent different directions in space.

Complete the following steps for each action you want to train. We recommend starting with at least three actions. The more unique each action is, the more consistently your micro:bit will be able to tell the difference between them.
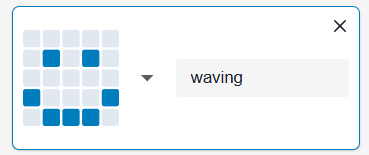
Choose a new action (e.g. ‘waving’). Name it, then select a symbol from the dropdown that best represents it.
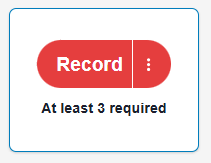
Follow the on-screen instructions to record a few seconds of accelerometer data for your new action. The more data you include, the more reliably your micro:bit will be able to recognize it. You’ll need to record three samples to start.
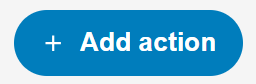
Click ‘+ Add action’ (bottom left) to repeat the process for more actions.
Step 3: Train Model
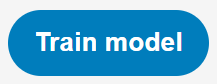
After you have collected enough data for all your actions, click the ‘Train’ button (bottom right) in CreateAI. This will begin the process of training your machine learning model and may take a few moments.
Training is when the computer learns to identify patterns in the data you provided. It’s like teaching a child what a cat is by showing them many different pictures of cats. The more data you provide for each action, the better and more accurate the model becomes at making predictions.
Step 4: Test Model
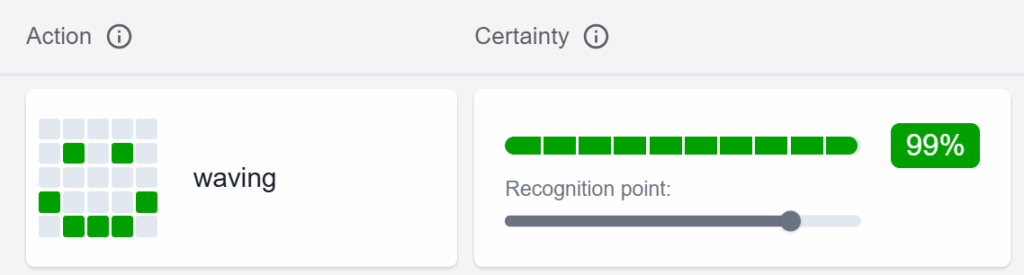
Once the model is trained, you can test it directly within CreateAI. Perform the actions you trained the model to recognize (e.g., wave your micro:bit) and observe how the model identifies the action in real-time. You’ll see a Certainty score that indicates how confident the model is in its prediction. You can adjust the Recognition Point to set the confidence level at which the model should identify an action.
Next Steps
Now that you have a model trained to recognize different actions, you can use these as inputs to trigger responses (or outputs) in MakeCode. To learn how to combine your trained model with MakeCode programs, check out the related tutorials and projects.
Related Content
-
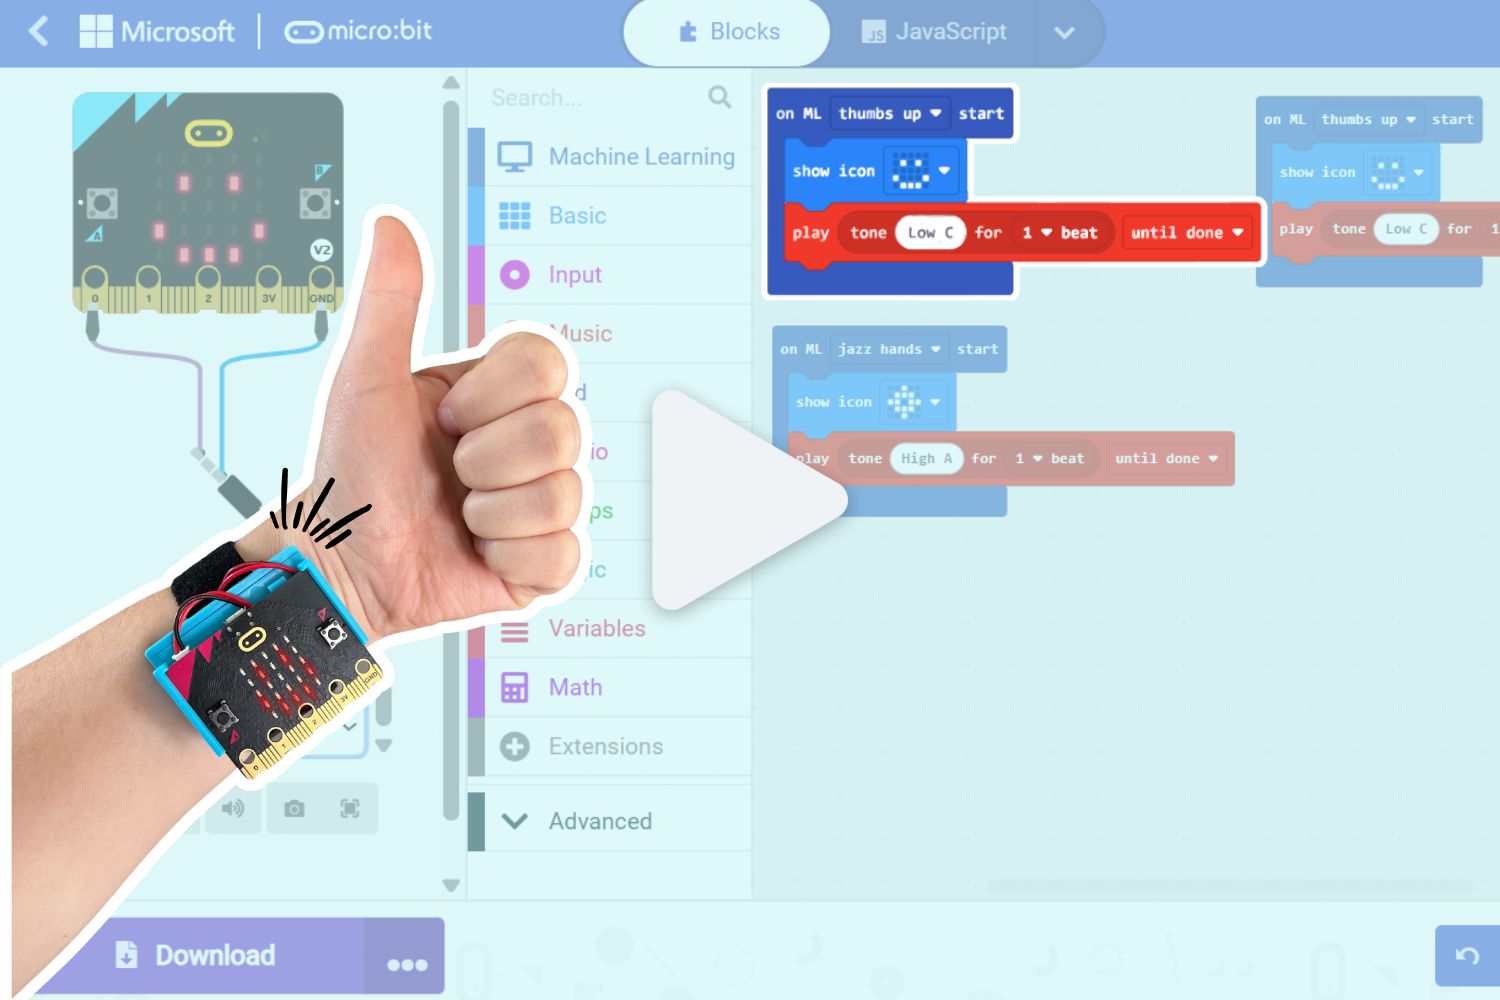
Using a CreateAI Model in MakeCode
Use CreateAI and MakeCode to control your micro:bit’s behaviour with simple hand gestures. -
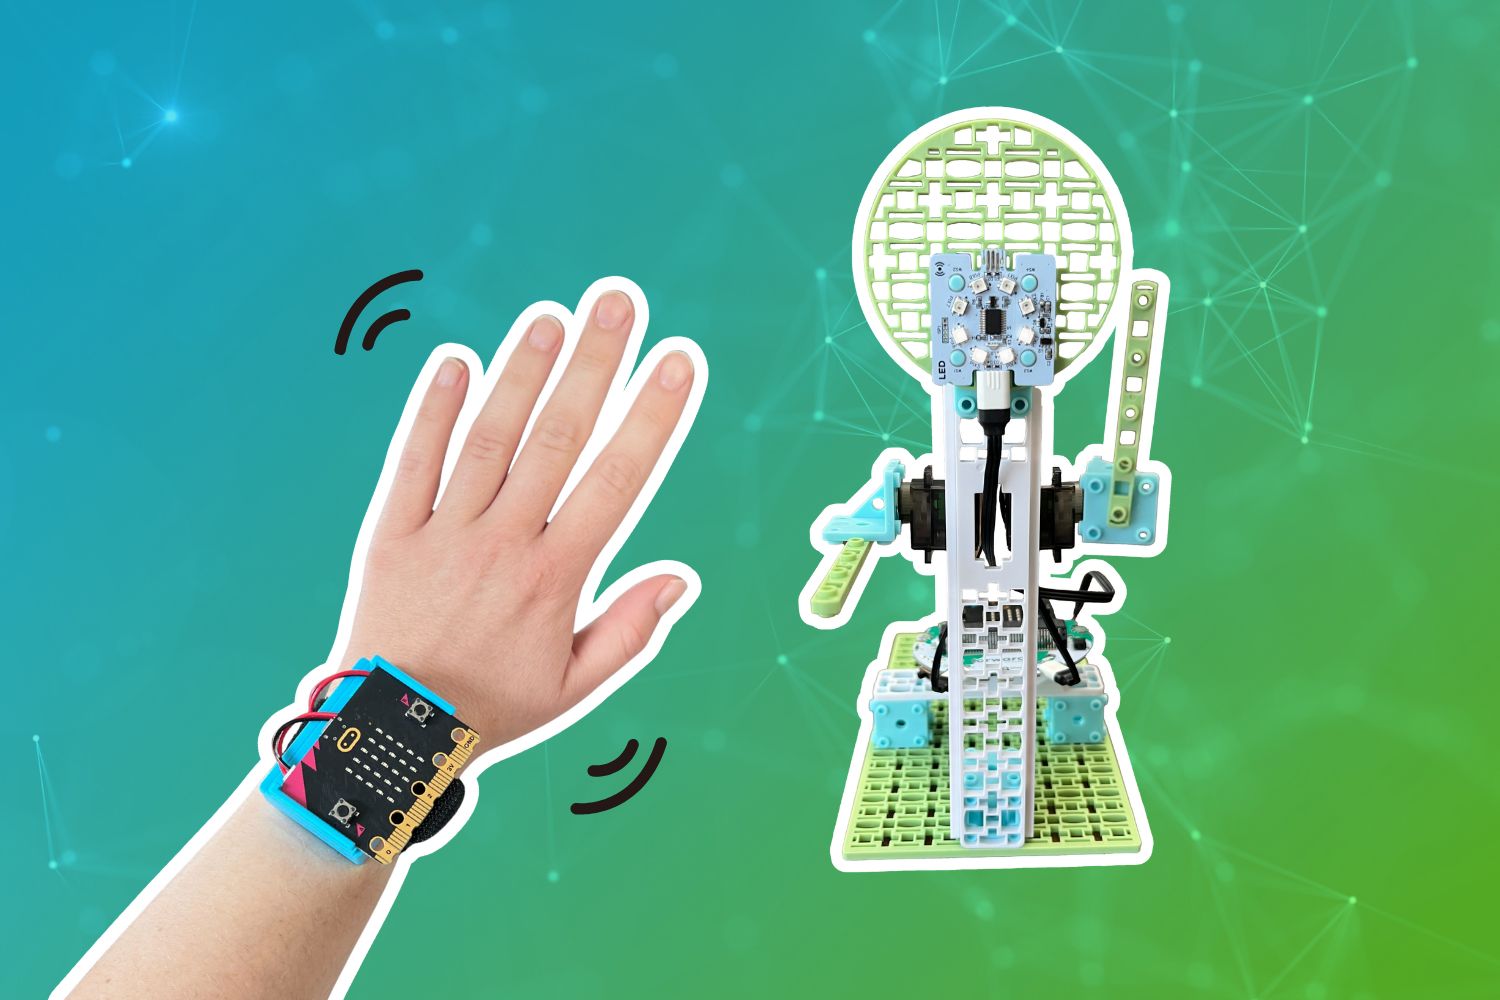
CreateAI Robot Friend
Program a robot friend that can mirror your actions using AI!
Feeling Stuck? Explore the Knowledge Base for common questions and troubleshooting tips.