Crossing Guard AI Station
In this project, we will build an AI-powered crossing guard station. This project uses a machine learning model to detect when the crossing guard stop sign has been raised, and sends a radio signal to the crossing station to change the barrier position and traffic light accordingly.
The full project uses additional robotic components from Forward Education; however, the main objective of this project can be achieved by using a single micro:bit to train just the crossing guard stop sign.
Prepare
You’ll need the following items to complete this project:
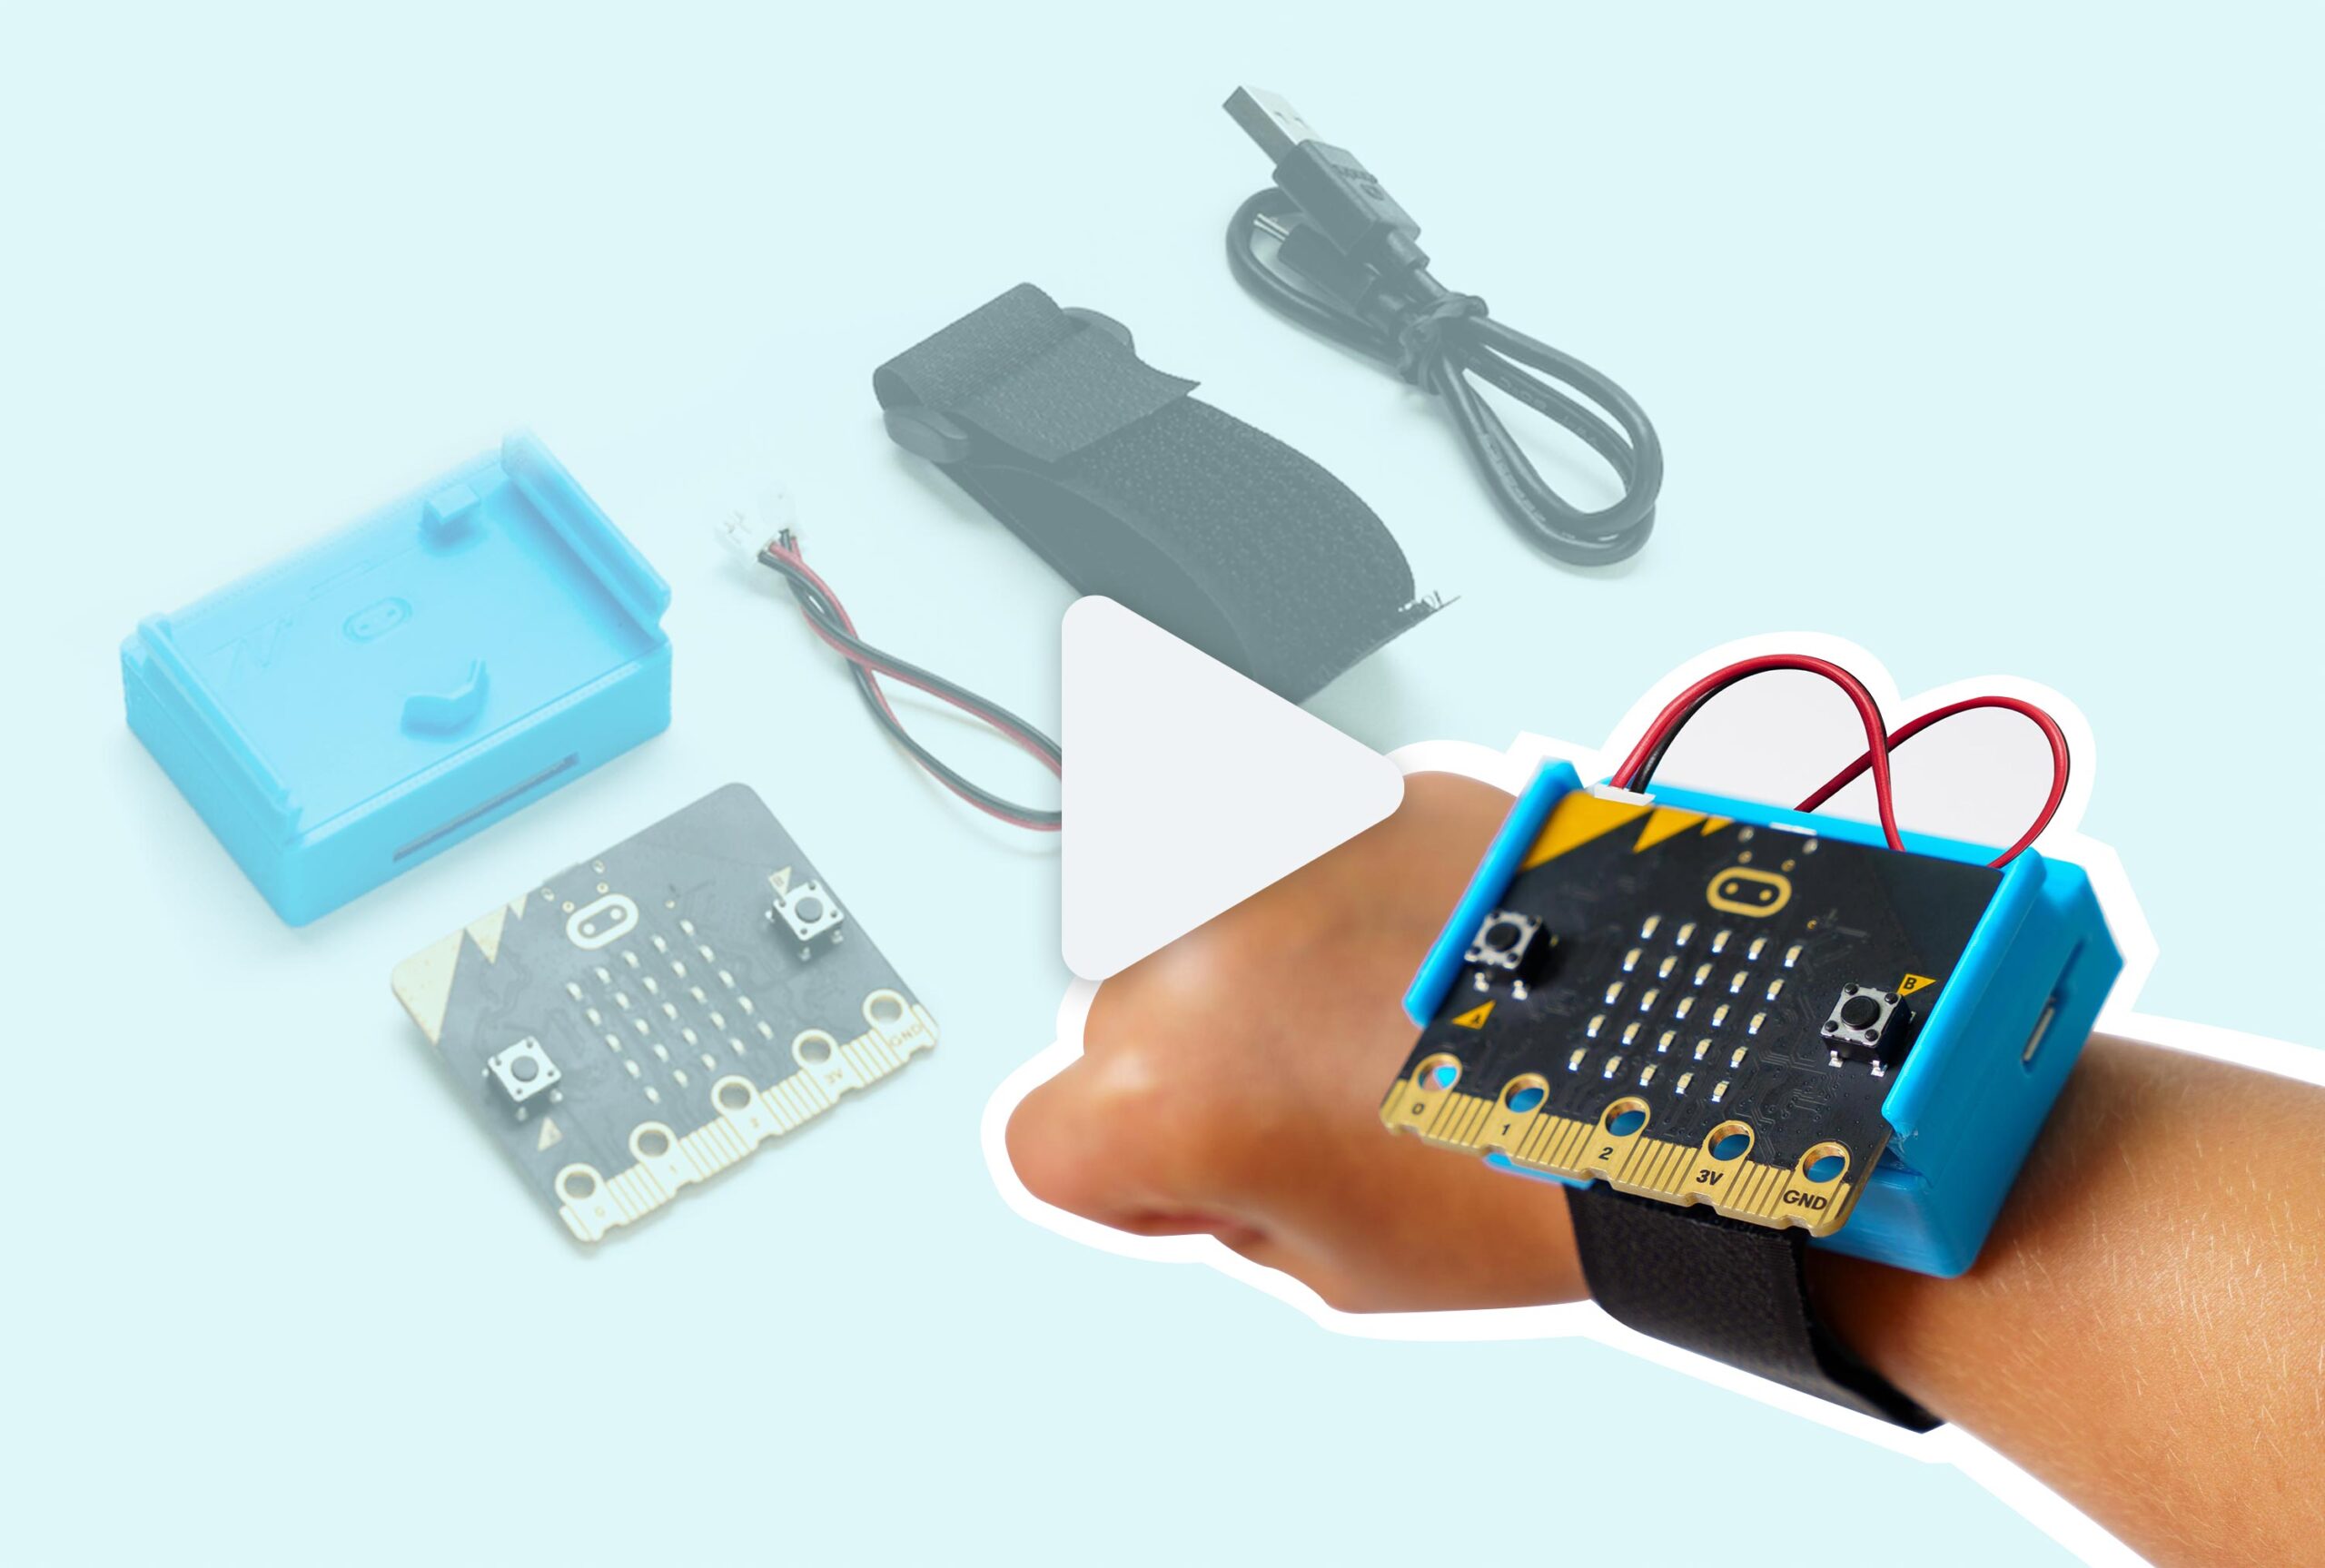
- 1x micro:bit V2
- 1x CHARGE for micro:bit
- micro USB cable
- Computer with access to CreateAI or Microsoft MakeCode
- Optional:
- Craft materials to make Stop Sign
- A second micro:bit for robotic crossing station
- Breakout Board
- Positional Servo Motor
- Smart Soldering Kit component or LED Light component
- Building Blocks to assemble station
- Connector cables for components
Train Crossing Guard Sign
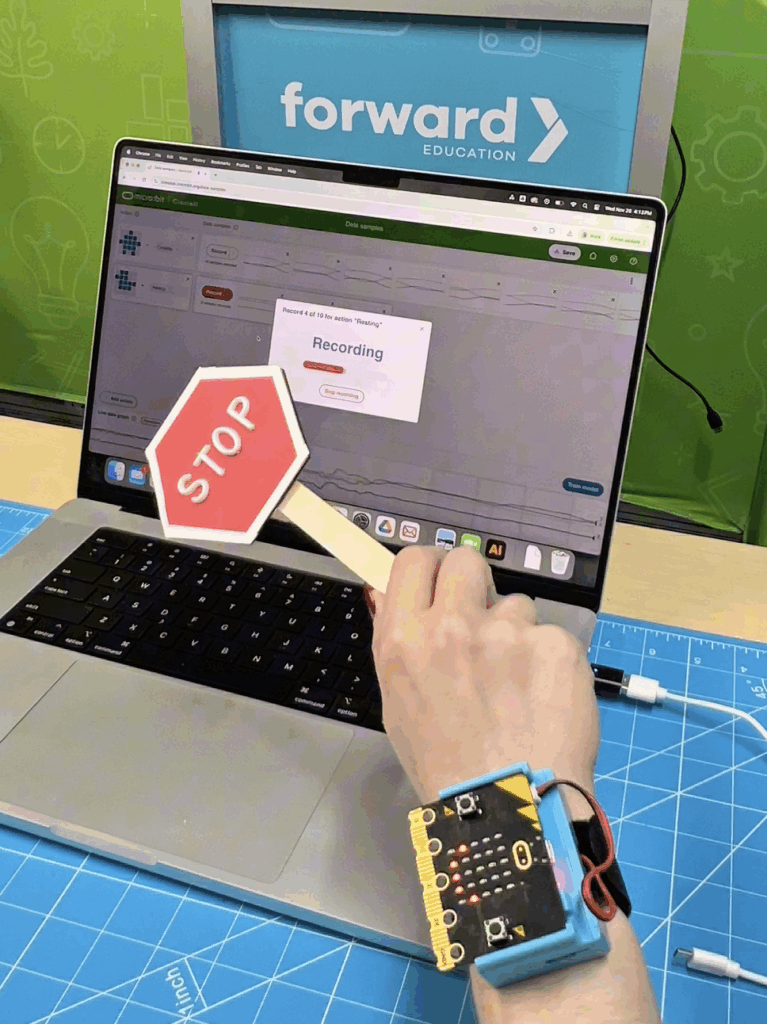
Record Data Samples
Go to CreateAI and start a new project. After connecting and wirelessly pairing your micro:bit, record a series of ‘raising’ and ‘resting’ with the stop sign. Be sure to account for all the different possible variations of raising and holding the sign. The more samples you record, the more accurate your machine learning model will be.
No time to record samples? Head to the ‘Resources’ section below to download a pre-trained .hex file for this activity.
Train and Test the Model
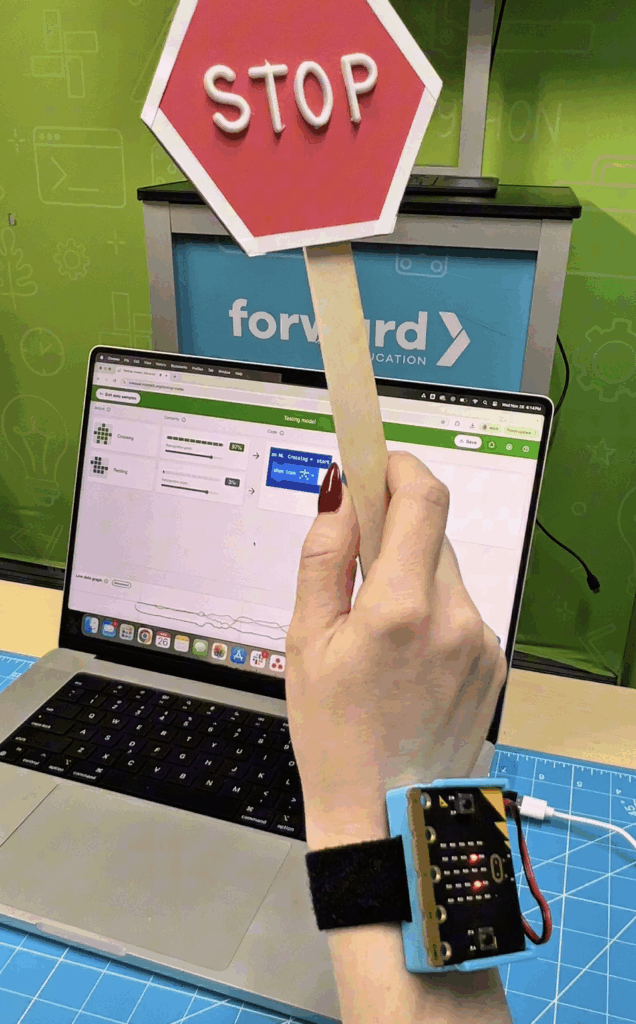
After you’ve recorded all of your samples you click the ‘train model’ button. The program will then go through a process of analyzing each of the samples to recognize patterns. After training has finished you will be presented with a screen where you can see the percentage of certainty for each action.
Test your actions to see if the machine learning model is accurately predicting each movement. If it’s not, you may need to go back and add additional samples by clicking ‘edit data samples’.
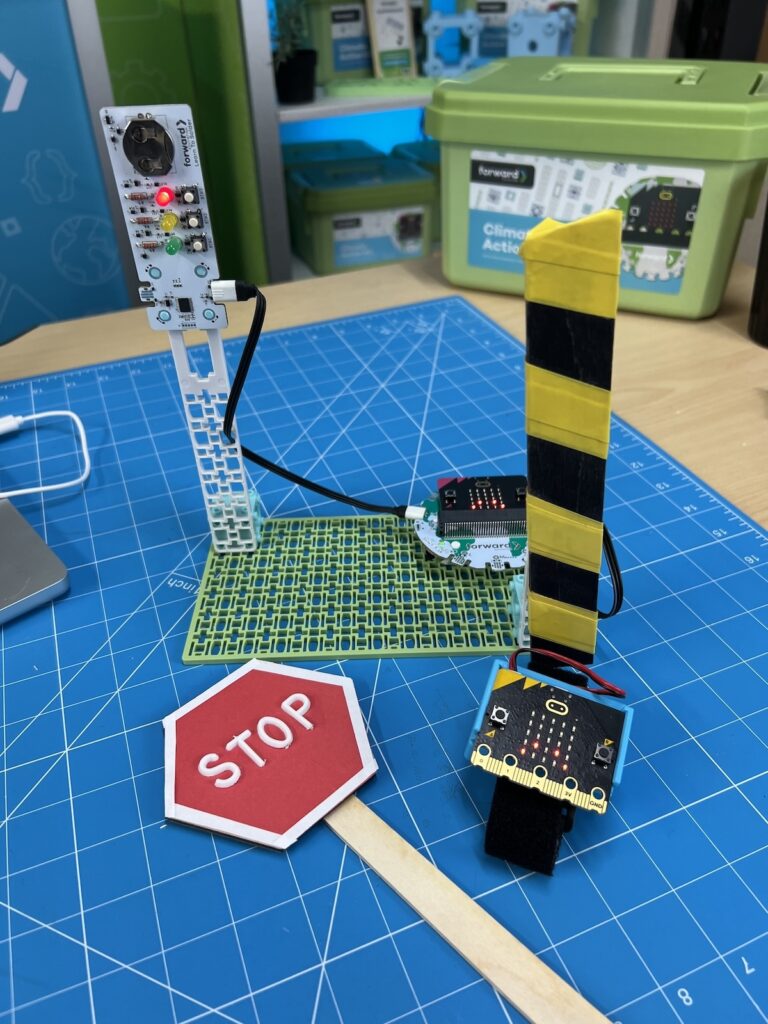
Code Crossing Station Components
You can take this project one step further by adding:
- Adding a second micro:bit: Receives a radio signal to control crossing station
- Positional servo motor: Raises and lowers a pedestrian barrier
- LED light component: Displays light colour to control vehicle traffic
To add this remote control ability to your project, you will need to import your machine learning model into MakeCode. Click the ‘Edit in MakeCode’ button. This will generate two input blocks which are your two crossing guard stop sign actions.
You will need to add code to both the crossing guard stop sign micro:bit as well as your second micro:bit which will control the crossing station and additional components.
Code Breakdown:
- When the crossing guard stop sign is raised, send a radio signal that means pedestrians are crossing
- When the crossing guard stop sign is lowered, send a radio signal that means pedestrians are stopped and traffic can flow.
- When the crossing station receives a signal that means pedestrians are crossing, raise the barrier and change the traffic light to red.
- When the crossing station receives a signal that means pedestrians are not crossing, lower the barrier and change the traffic light to green.
You can find a copy of the code for both the ‘sending’ and ‘receiving’ micro:bit below.
- Stop Sign ‘Sending’ micro:bit
- Crossing Station ‘Receiving’ micro:bit
Important Notes
- If you’re starting your code from scratch and using components from Forward Education, you will need to make sure you have the Forward Education ‘all’ extension added in MakeCode.
- If you’re using a servo motor in your project, make sure the physical port where the servo motor is plugged in on the Breakout Board matches the servo motor you’re coding in the program (i.e., left, middle, right)
- If you’re doing this program amongst other groups who are also using the radio function, ensure each group has their own radio group set.
Related Content
-
CHARGE for micro:bit Assembly Guide
Step-by-step guide on how to insert your micro:bit into the CHARGE battery pack. -
Chuck-a-Duck CreateAI Game
Use micro:bit and CreateAI to create a fun game similar to hot potato. -
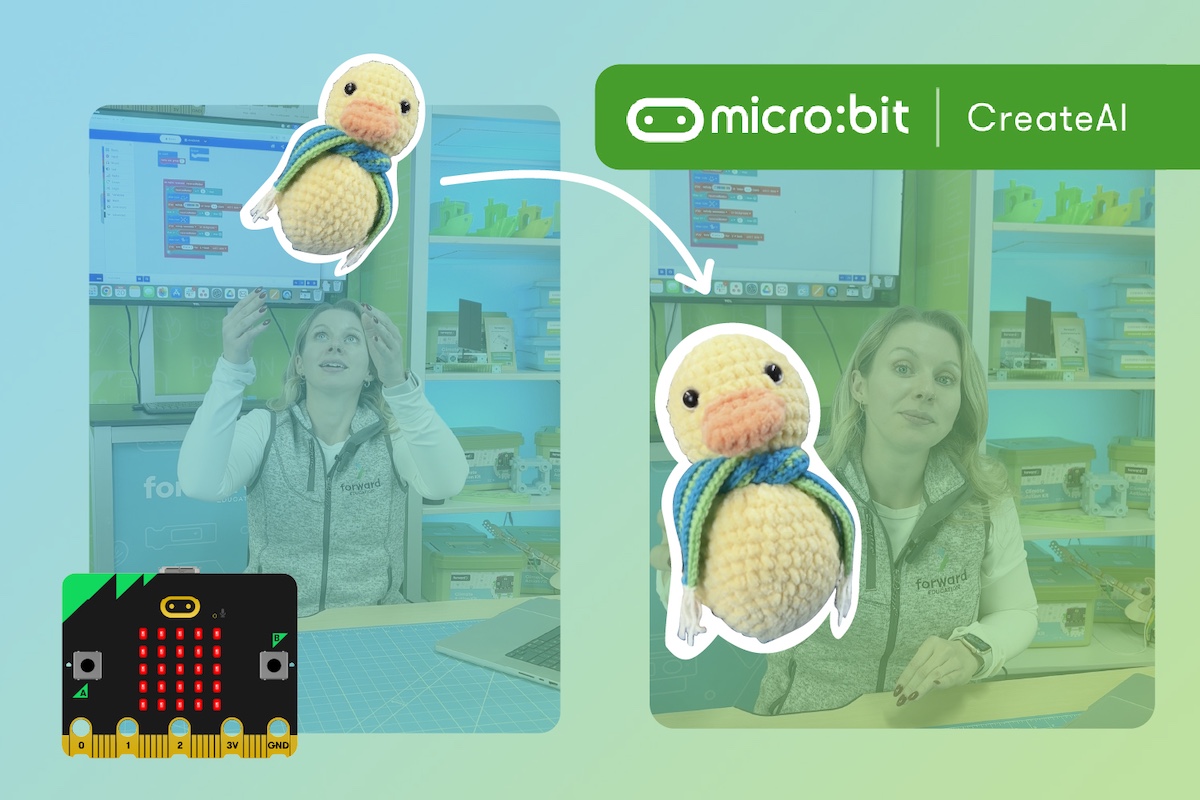
CreateAI Robot Friend
Program a robot friend that can mirror your actions using AI!
Feeling Stuck? Explore the Knowledge Base for common questions and troubleshooting tips.