Downloading MicroCode to your micro:bit
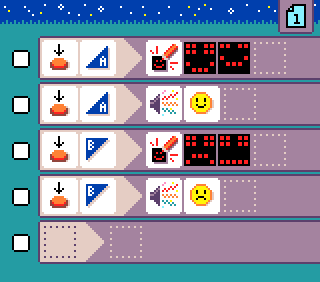
MicroCode is a graphical programming language you can use to code the micro:bit. Instead of writing block-based code with text, you create programs by connecting a series of picture-based tiles. This makes it even easier for beginners or pre-readers to get started with coding! When MicroCode is paired with a device like CodeCTRL, you can even code projects without access to a computer or the Internet!
In this tutorial, we’ll walk you through how to download MicroCode to your micro:bit. This is the first step for using MicroCode with CodeCTRL. The micro:bit acts as an onboard computer for the CodeCTRL and will run MicroCode on the device. If MicroCode is not downloaded to the micro:bit first, you will see a black screen when you power on the CodeCTRL.
Materials
- micro:bit (V2)
- microUSB cable
- Computer with internet access
- CodeCTRL
Instructions
Educators:
You may want to complete these steps before handing out CodeCTRLs to your students, especially when working with early readers. This way, all they’ll have to do is power on the CodeCTRL to start programming!
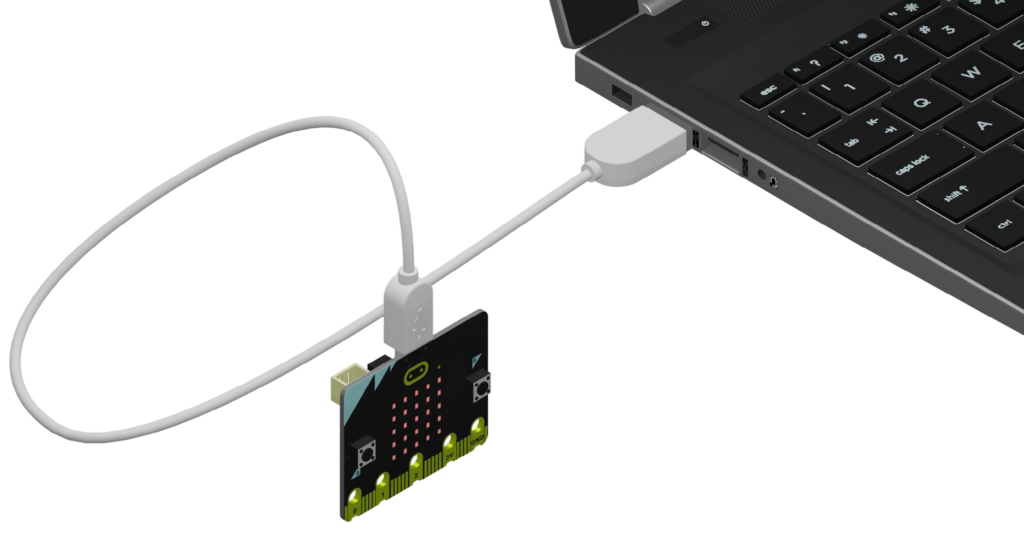
Step 1: Connect your micro:bit to the computer
Plug the smaller end of a microUSB cable into the USB port on your micro:bit.
Plug the larger, standard USB end into a USB port on your computer.
Step 2: Transfer the MicroCode .hex file to your micro:bit
Download the MicroCode .hex file to your computer.
Then, open your computer’s file explorer (Windows) or Finder (Mac) to locate the .hex file in your “Downloads” folder.
Drag and drop the .hex file onto the “MICROBIT” drive. Wait for the file transfer to complete.
Step 3: Eject your micro:bit
Safely eject your micro:bit from your computer to avoid damaging it:
- On Windows: Right-click on the “MICROBIT” drive icon in File Explorer and select “Eject”.
- On macOS: Drag the “MICROBIT” drive icon from your desktop to the Trash (which will change to an “Eject” icon).
Disconnect the microUSB cable from your computer and micro:bit.
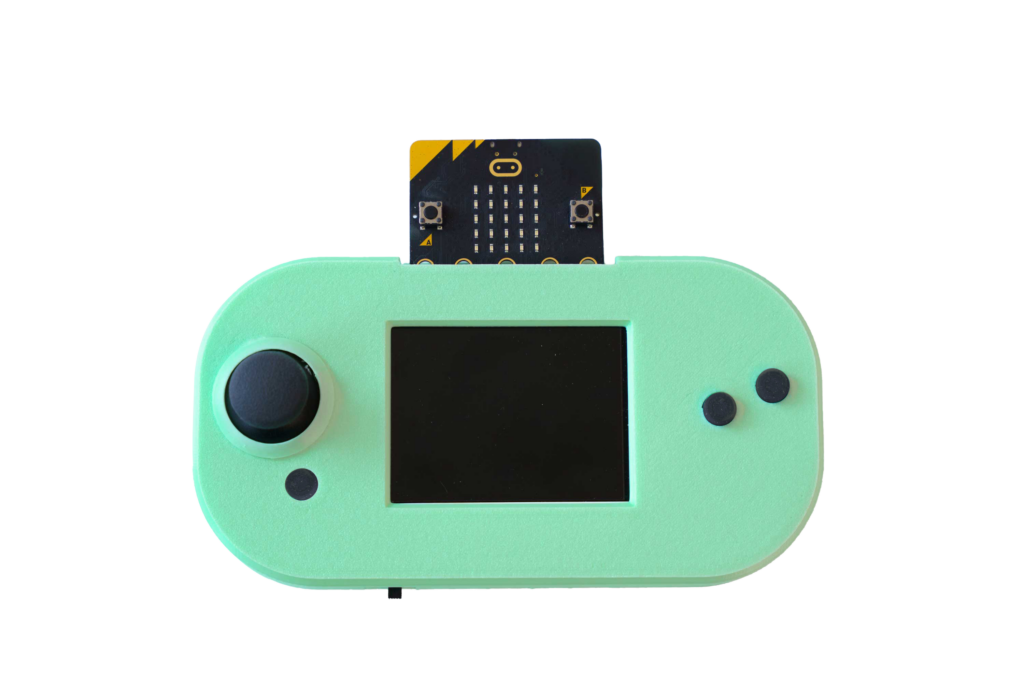
Step 4: Connect micro:bit to CodeCTRL
Gently slide the pins of your micro:bit into the edge connector at the top of the CodeCTRL. Be sure the the buttons on the micro:bit are facing forward! You should feel a slight click or resistance when it’s properly connected.
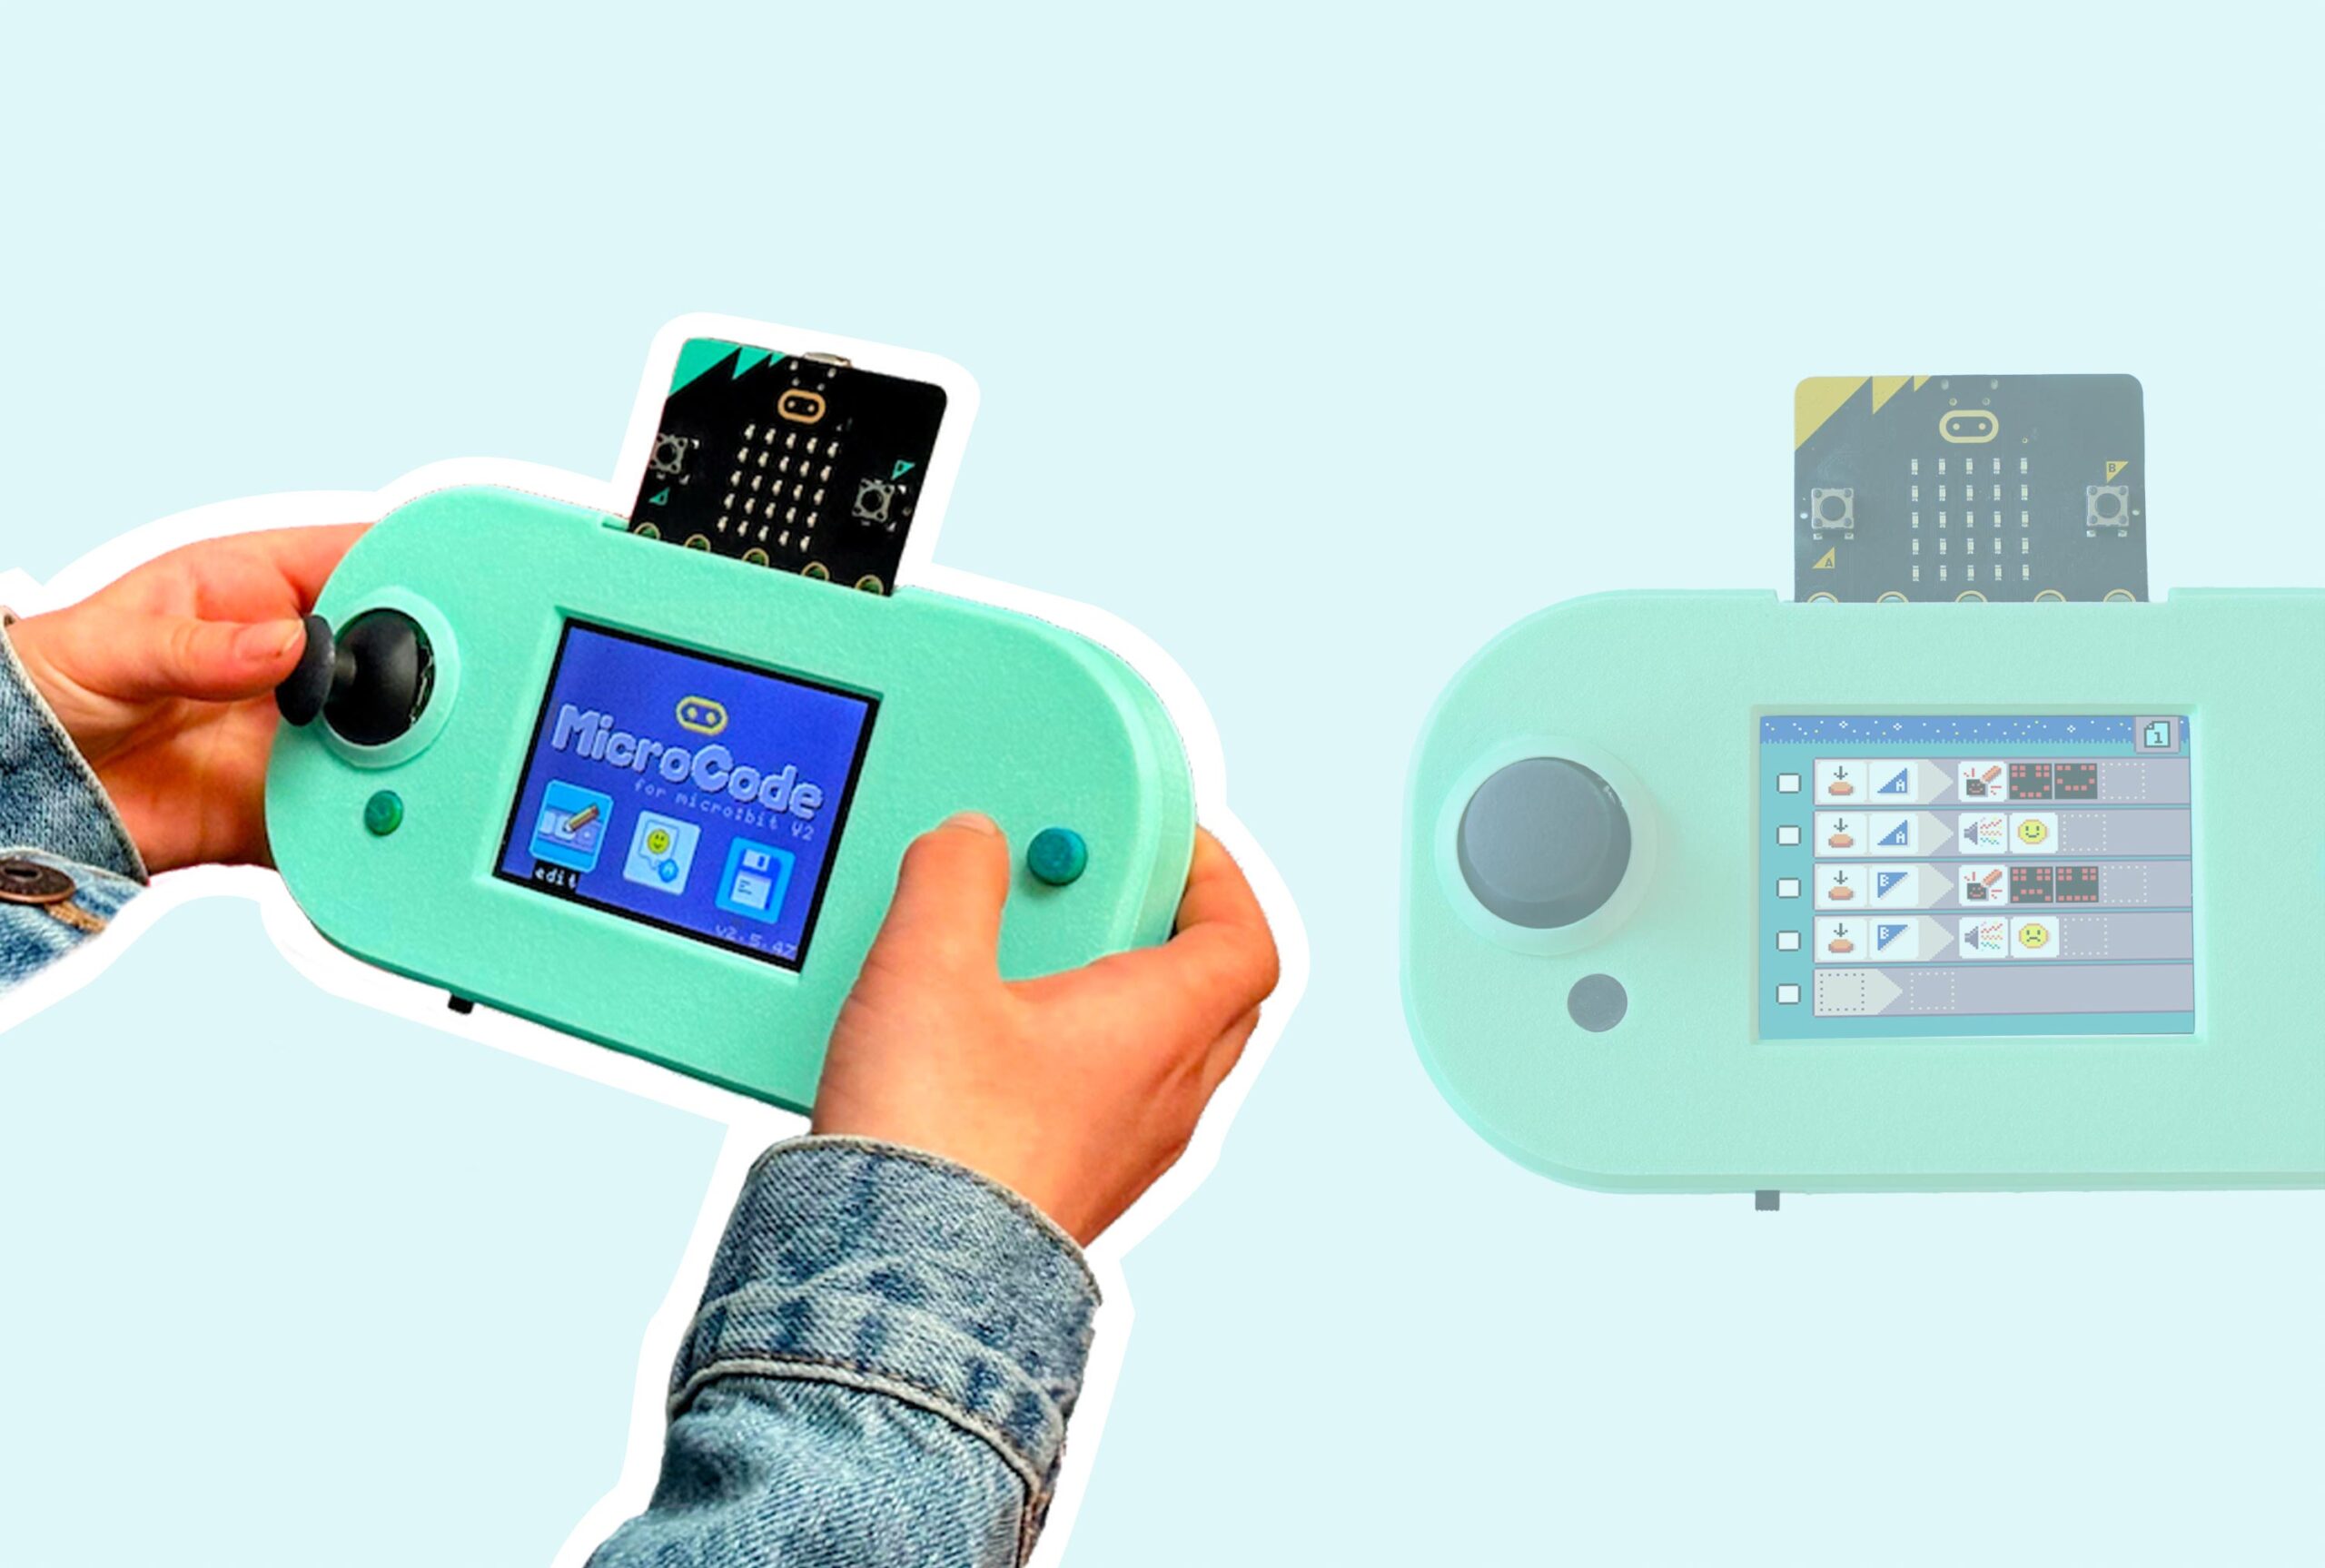
Step 5: Power up and code!
Locate the power switch on the bottom left of your CodeCTRL. Toggle it on and MicroCode should automatically load!
Related Content
-
Introduction to MicroCode
Learn about the MicroCode programming language and its editor! -

Writing When-Do Rules in MicroCode
Write your first When-Do rule in MicroCode to create a simple readout of the light sensor! -
MicroCode Bee Tracker
Use MicroCode and CodeCTRL to write a program for your bee counter!
Feeling Stuck? Explore the Knowledge Base for common questions and troubleshooting tips.