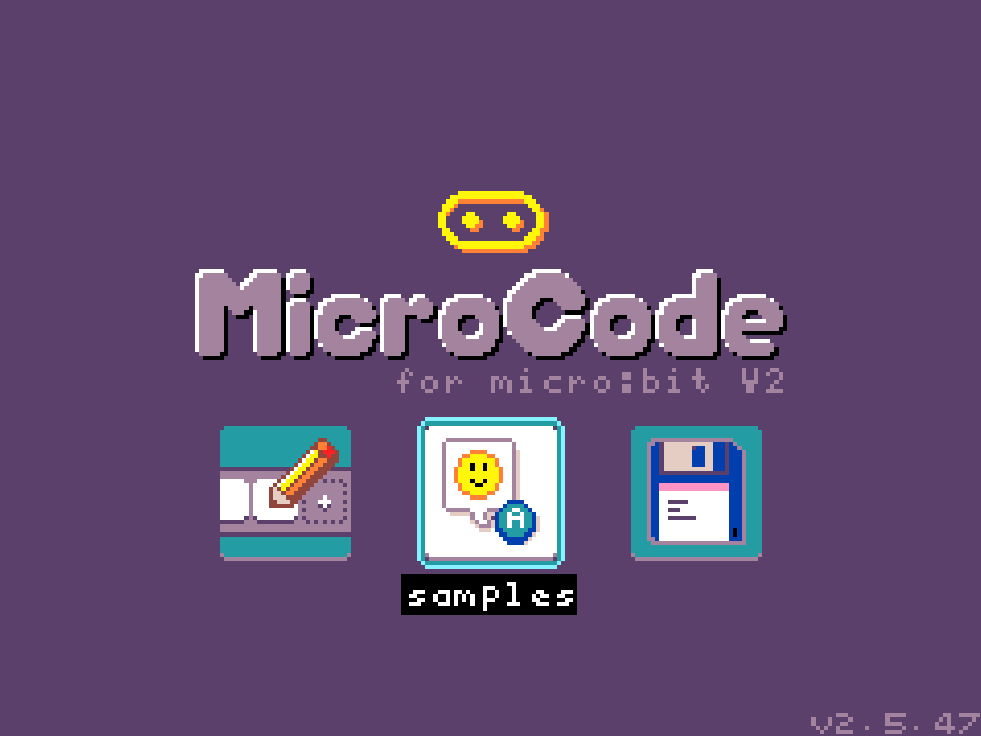
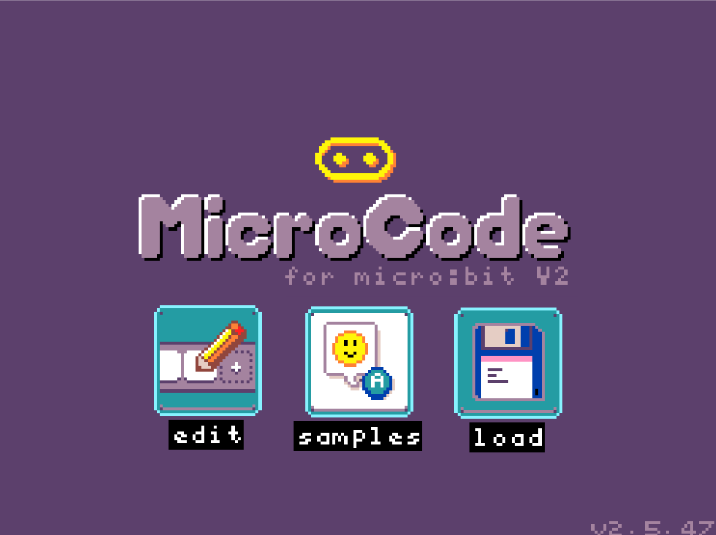
Introduction to MicroCode
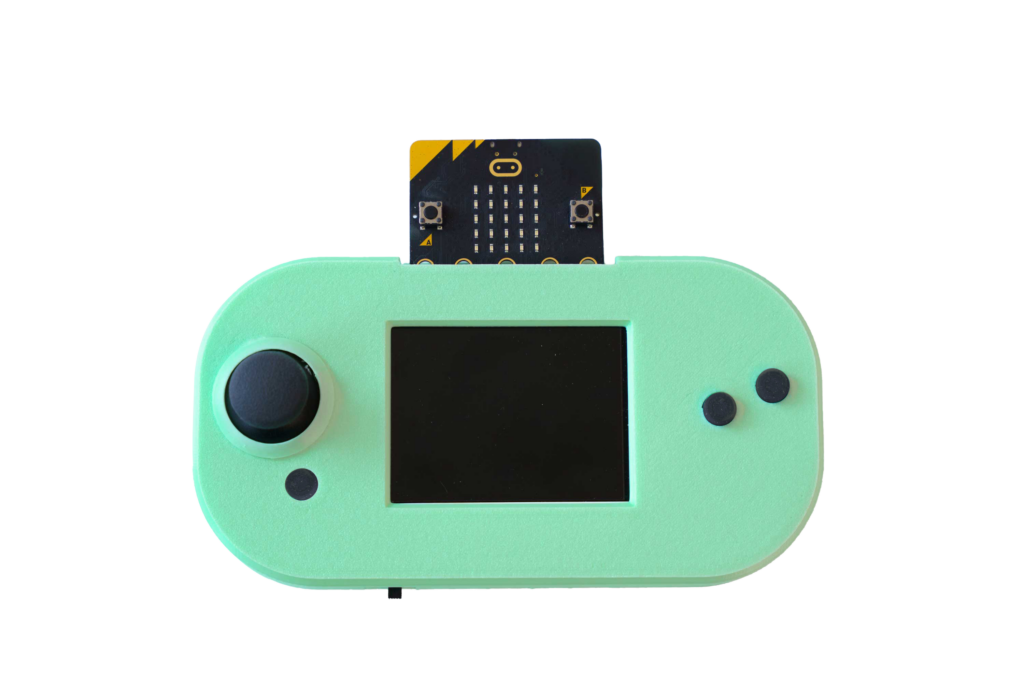
MicroCode is a graphical programming language you can use to code the micro:bit. Instead of writing block-based code with text, you create programs by connecting a series of picture-based tiles. This makes it even easier for beginners or pre-readers to get started with coding! When MicroCode is paired with a device like CodeCTRL, you can even code projects without access to a computer or the Internet!
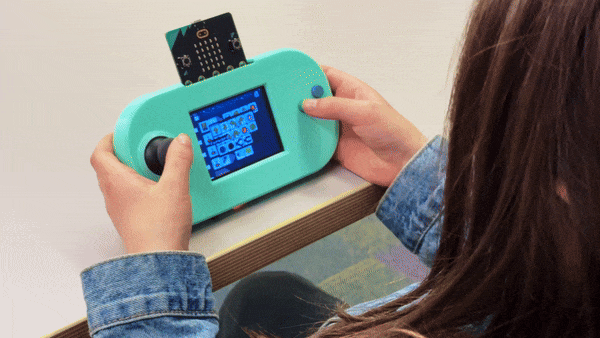
In this tutorial, we’ll walk you through the basics for using MicroCode on your CodeCTRL!
Materials
Getting Around in MicroCode
Controls
You can navigate MicroCode using the CodeCTRL’s buttons and joystick:
- Button X: Select an option or confirm an action within MicroCode.
- Button O: Go back to the previous screen or menu.
- Joystick: Move the on-screen cursor up and down or left to right to highlight different menu items or tiles.
Editor Interface
MicroCode is organized into a few key sections that you can find from the main menu that appears when the CodeCTRL powers on.
Edit: This section gives you edit access to whatever MicroCode program is currently running on the micro:bit.
Samples: This section provides pre-built example projects that you can explore, run, and even modify to learn how different functionalities work.
Load: Here, you can access programs that you’ve previously saved. You can save up to 3 at any time.
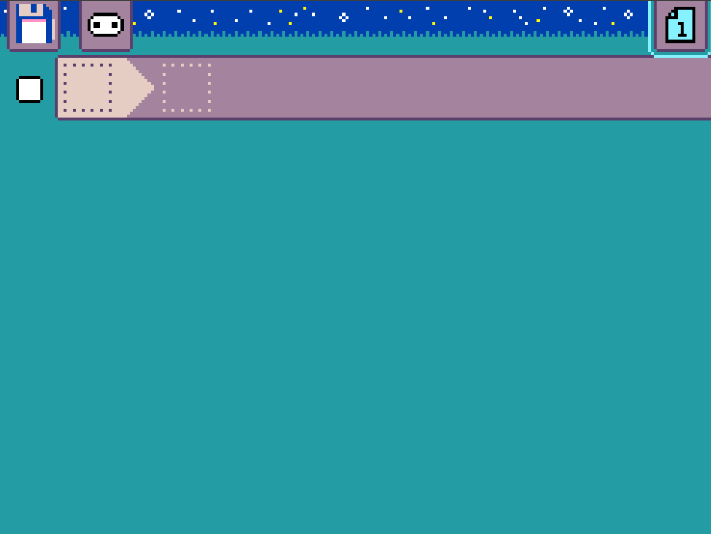
Whether you select ‘Edit’ to tweak your current program, choose a ‘Sample’ to explore, or pick an older project from ‘Load’, you will be brought to the main editor interface. This is where the magic happens – where you can actually see and manipulate the MicroCode blocks to write and modify your code!
Coding with MicroCode
MicroCode organizes your code into pages. On each page, you create rules by connecting visual blocks. Each rule follows a simple When-Do structure: When something happens, Do something else. These When and Do sections are built from individual programming tiles – the blocks that tell the micro:bit what to do.
Breaking Down When-Do Rules
Every rule in MicroCode has two main parts:
When… (The Trigger)
This part of the rule defines what event must happen in order to execute the rest of the rule. Sometimes, you can set additional details, known as parameters, to customize an event. For example, if the event you’ve chosen is a “button press,” you would specify which button (A or B) with a parameter.

Do… (The Action)
This part of the rule defines what commands the micro:bit should follow when an event happens. You can also set parameters for a command. For example, if the command you’ve chosen is to “show an icon,” the parameter would be which icon (smiley face, heart, etc.).

Sample Project
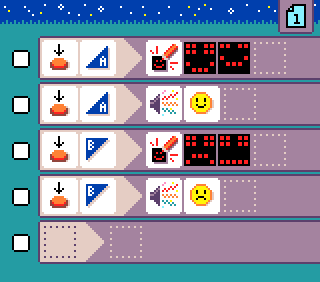
Let’s look at how this all comes together in a basic sample project: ‘Smiley Buttons.’
Power on your CodeCTRL device. Select ‘Samples’ and click the first sample project:
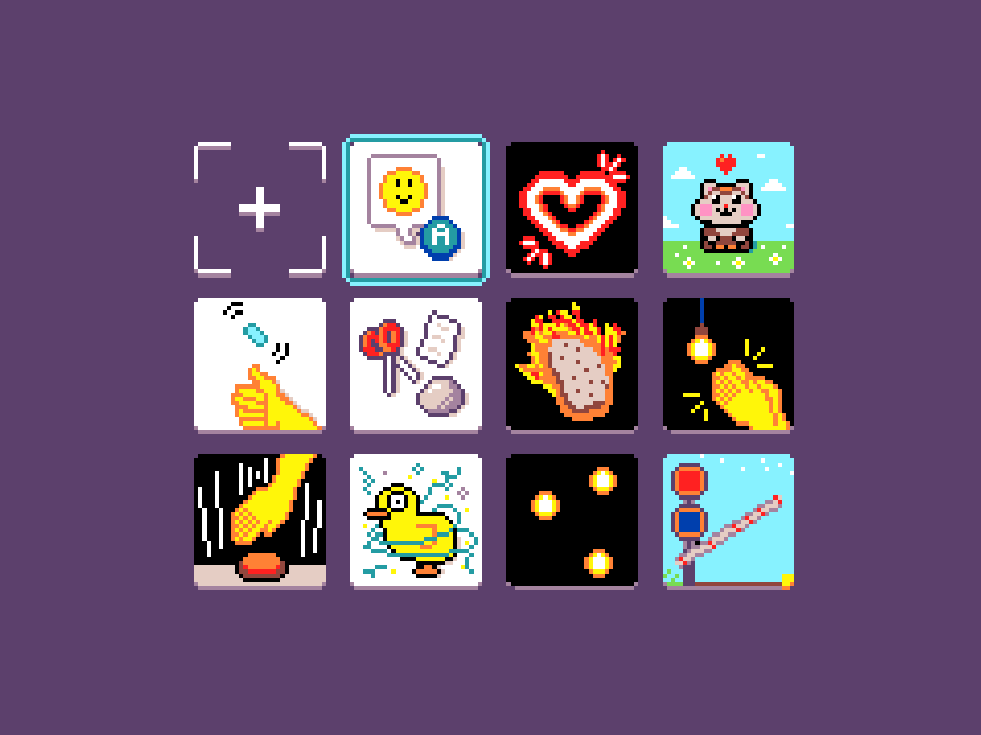
When you open ‘Smiley Buttons’, you’ll see four rules written from top-to-bottom:
- When button A is pressed, do show an animated smiley face on the LED display.
- When button A is pressed, do play a happy sound.
- When button B is pressed, do show an animated sad face on the LED display.
- When button B is pressed, do play a sad sound.
Testing it out is instant! Once you have this program open, you can press the physical A and B buttons on your micro:bit and see the corresponding face appear on the LED grid while hearing the associated sound.
Try it now!
Related Content
-

Writing When-Do Rules in MicroCode
Write your first When-Do rule in MicroCode to create a simple readout of the light sensor! -
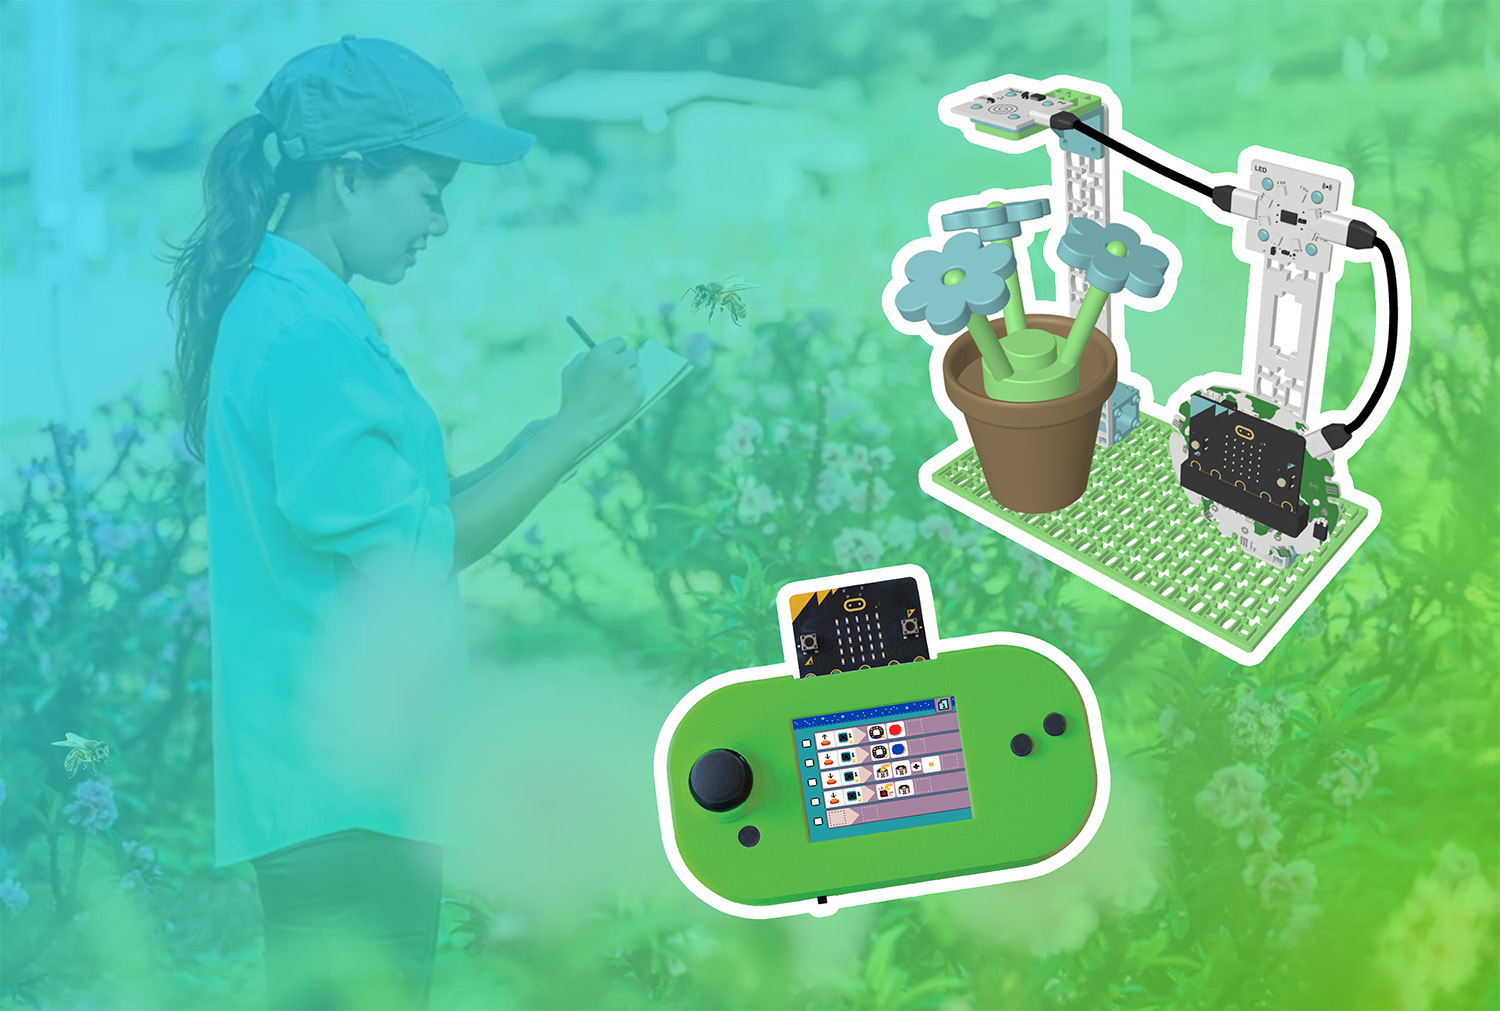
MicroCode Bee Tracker
Use MicroCode and CodeCTRL to write a program for your bee counter! -
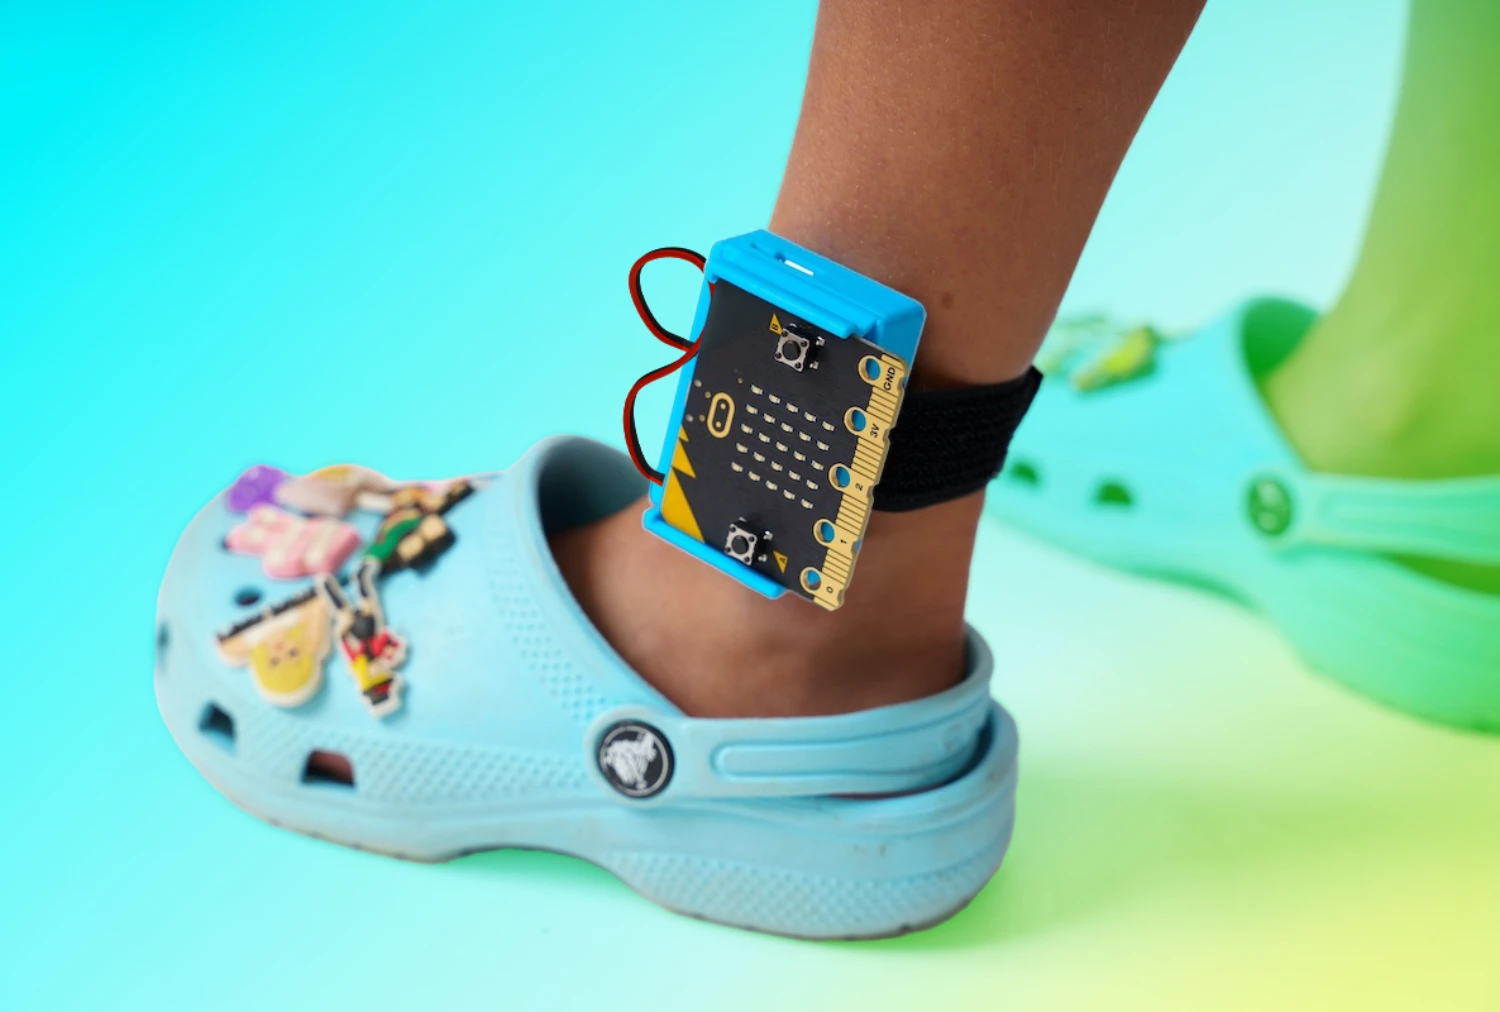
Step Counter with CHARGE Power Pack
Code your own step counter with MakeCode or MicroCode!
Feeling Stuck? Explore the Knowledge Base for common questions and troubleshooting tips.