Wampum Belt AISES
This project was created by the Fostering Indigenous Innovation in Robotics Education team at the American Indian Science and Engineering Society.
Explore the accompanying resources for thoughtful discussion points!


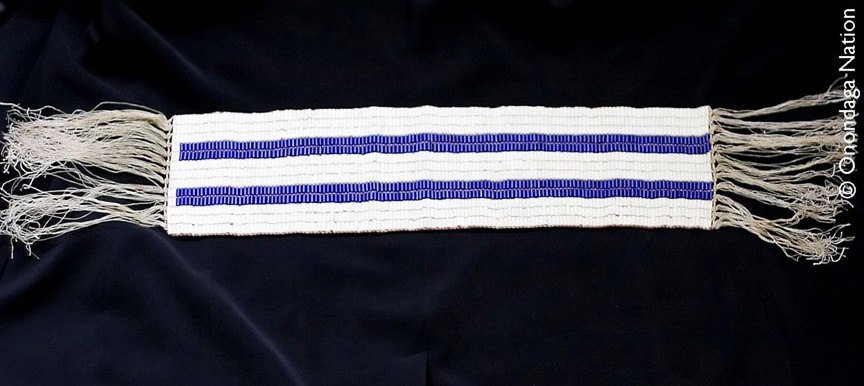
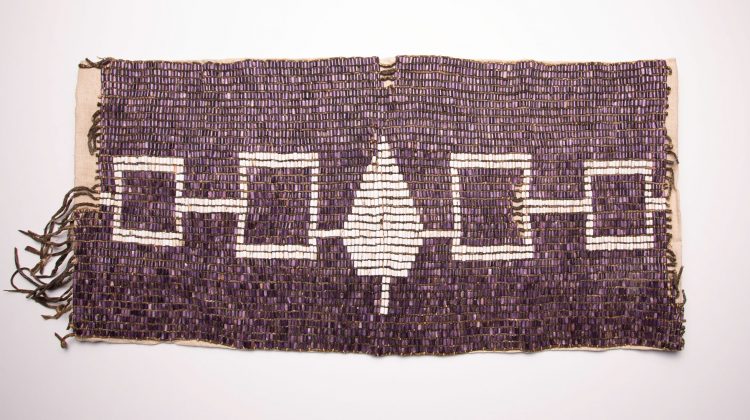
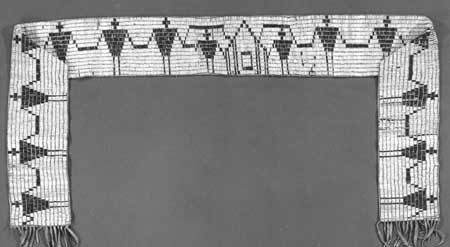
Wampum belts are special belts made out of Wampum beads that are derived from the Quahog Clam shell. The belts tell many stories and symbolize promises and laws. One famous belt, called the Hiawatha Belt, shows five nations agreeing to peace and friendship.
First, you will follow this project to create a section of a Wampum Belt.
Your section section will have:
- a breakout board with micro:bit
- a sensor to reveal the design
- an LED ring design
Next, you will combine your section with other sections to form one long Wampum Belt.
Explore the resources (onondaganation.org) below to understand the cultural and historical significance of some iconic Wampum Belts.
Prepare
You’ll need the following items for each group to complete this project:
- Climate Action Kit
- micro:bit V2
- Computer with access to Microsoft MakeCode
Build Your Wampum Belt Section
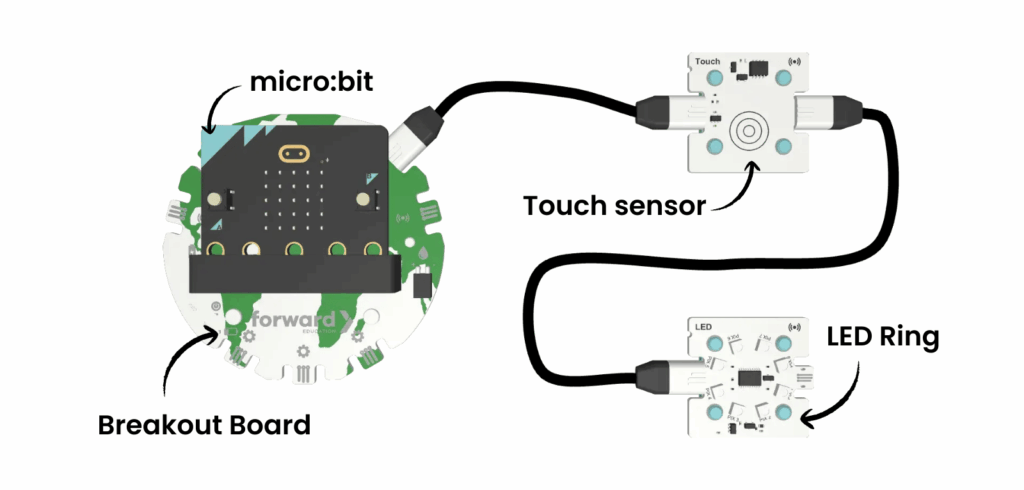
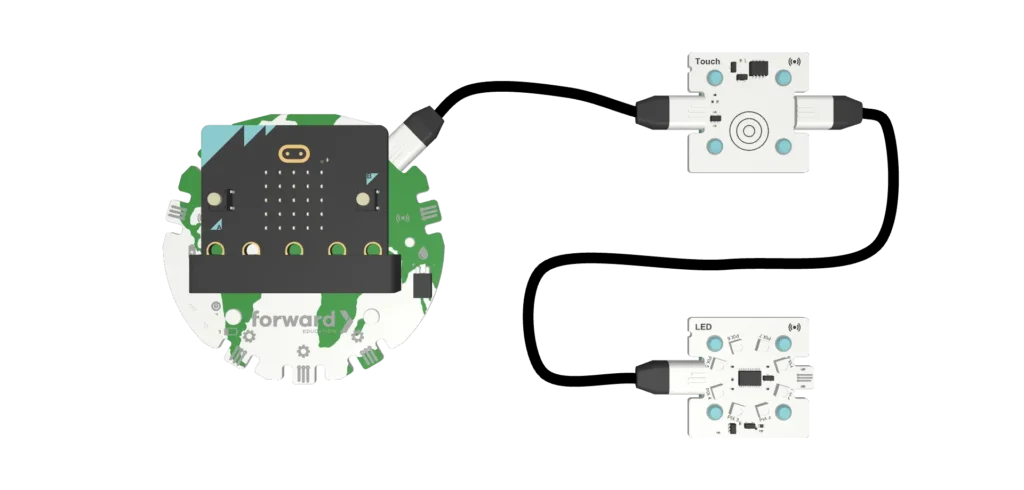
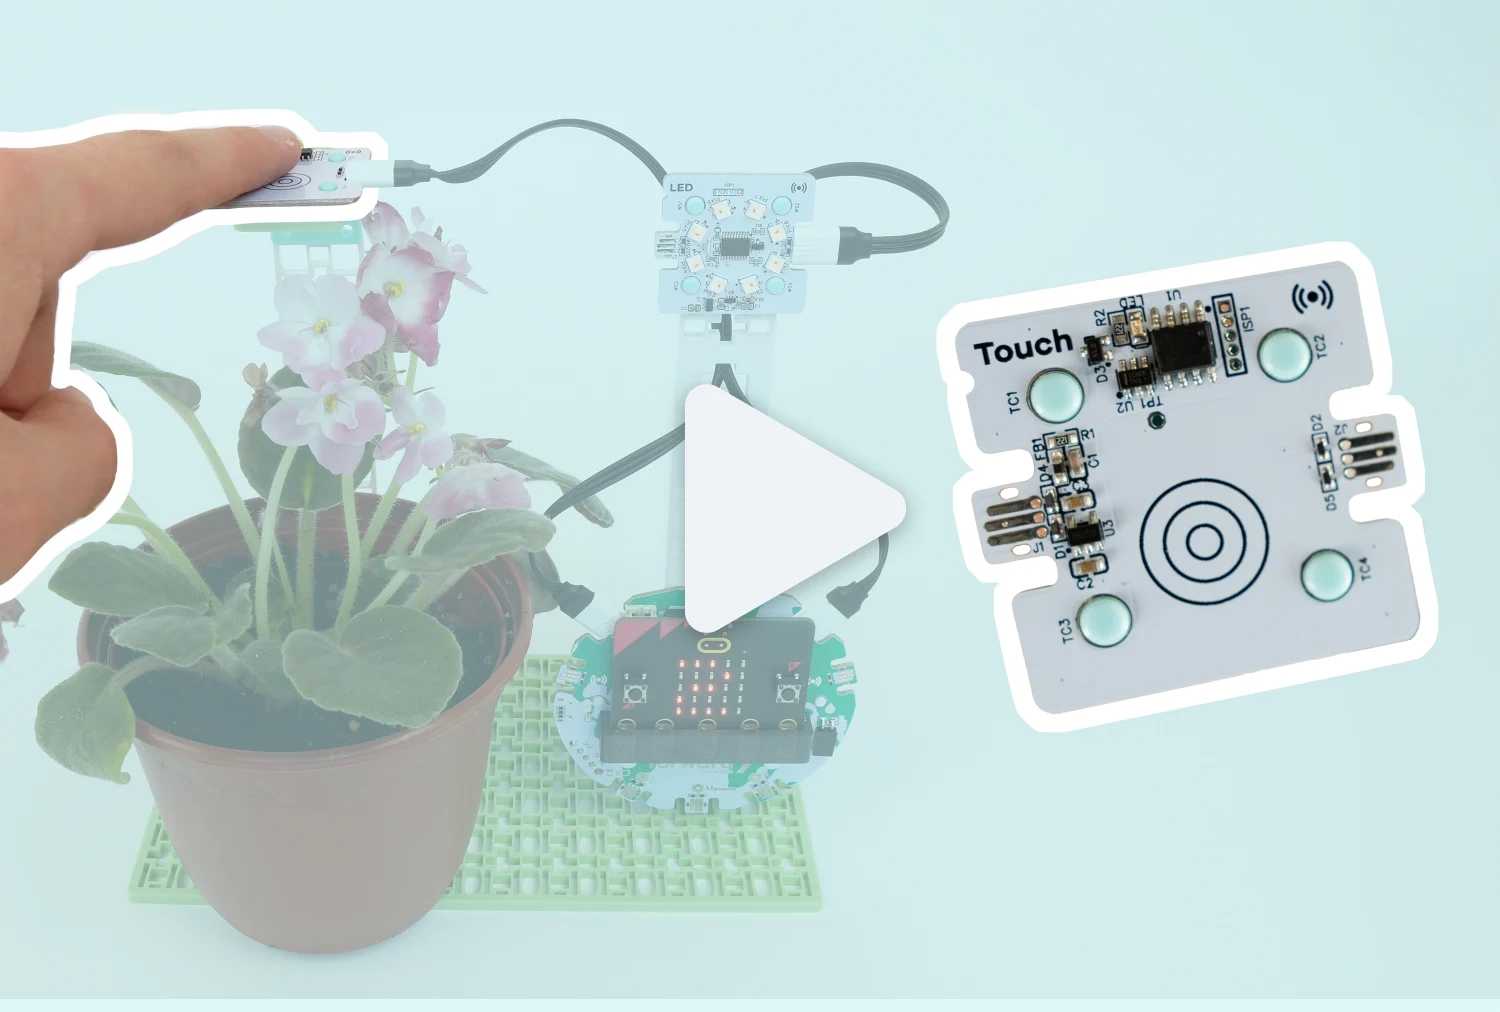
Follow the instructions to connect the plug-and-play modules and sensors as shown above:
- Use a short black cord to connect the Breakout Board to the touch sensor.
- Use a long black cord to connect the touch sensor to the LED ring, as shown above.
Code
First, connect and pair the micro:bit with your device.
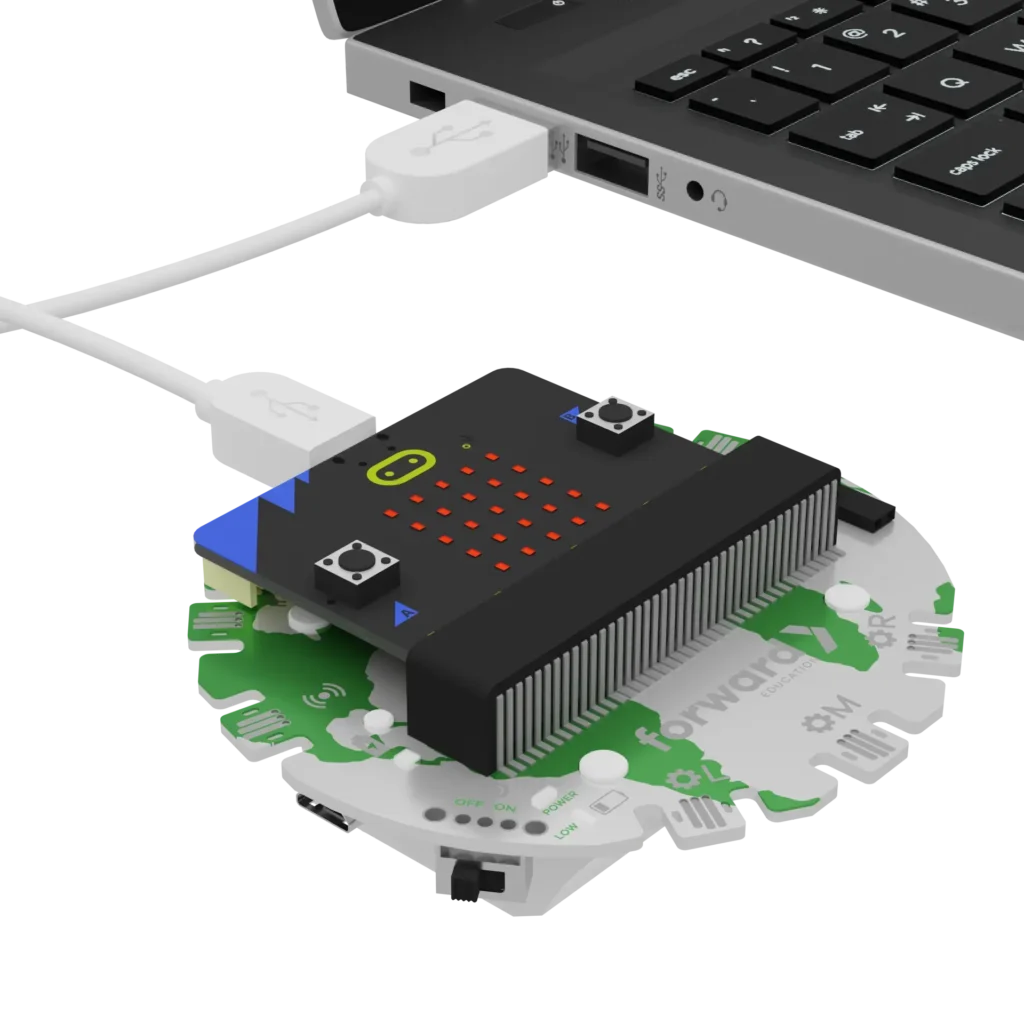
Turn on your Breakout Board and connect it to the USB port on your device.

Pair your micro:bit with the device so you can download the code.
Next, open the starter code and download it to your device to make your section work!
When you are ready, review the code comments and modify your Wampum Belt section to make it your own. Then, re-download the code to see your changes on your section.
Combine Your Sections
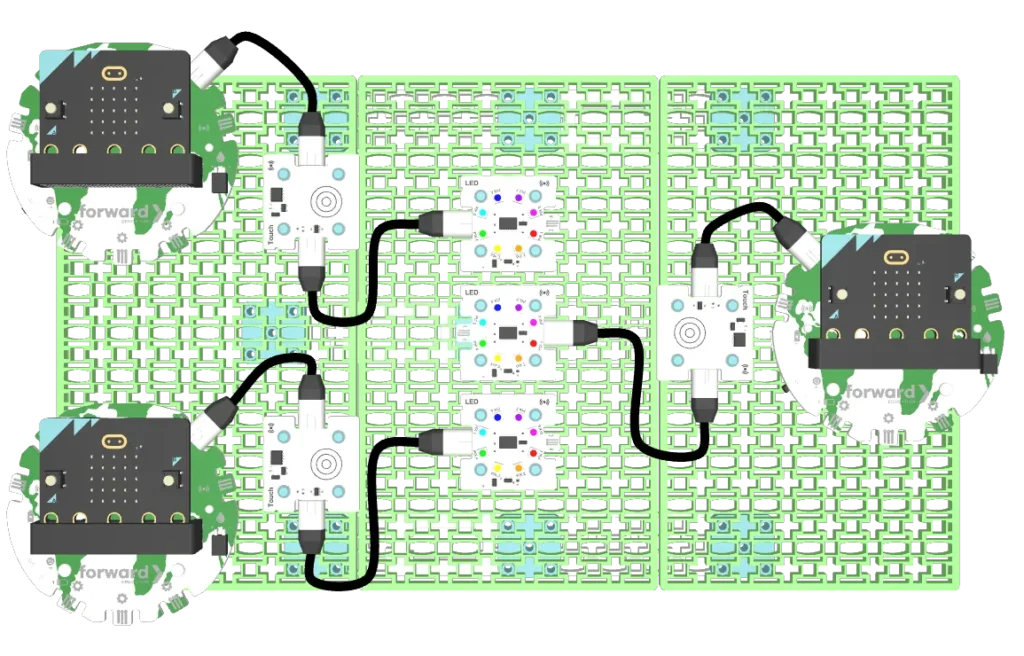
Next, work together to build one large frame to house each section of the Wampum with the building blocks and robotic components from the Climate Action Kit:
The example provided uses a Wampum belt designed for three groups, using the building blocks, touch sensor and LED ring from multiple Climate Action Kits.
Don’t be afraid to modify the sensors used, or create your own frame for a larger Wampum Belt design.
Improve
How would you modify the sample code provided, or create your own code that uses one of the following sensors or inputs:
- A or B button
- Micro:bit Logo
- Touch Sensor
- Dial Turning or Pressed
- Loud Sounds
- Light Sensor
- Sonar Sensor
- Moisture Sensor
As you modify your code, make sure to adjust the colours of the LED Ring pixels in the Wampum function to reflect the design you created earlier.
Each group will download their code to their micro:bit, and connect the sensor they’ve selected to their group’s breakout board and LED ring. In order, each group will trigger their LED ring using their chosen sensor, revealing the larger Wampum design.
Related Content
-
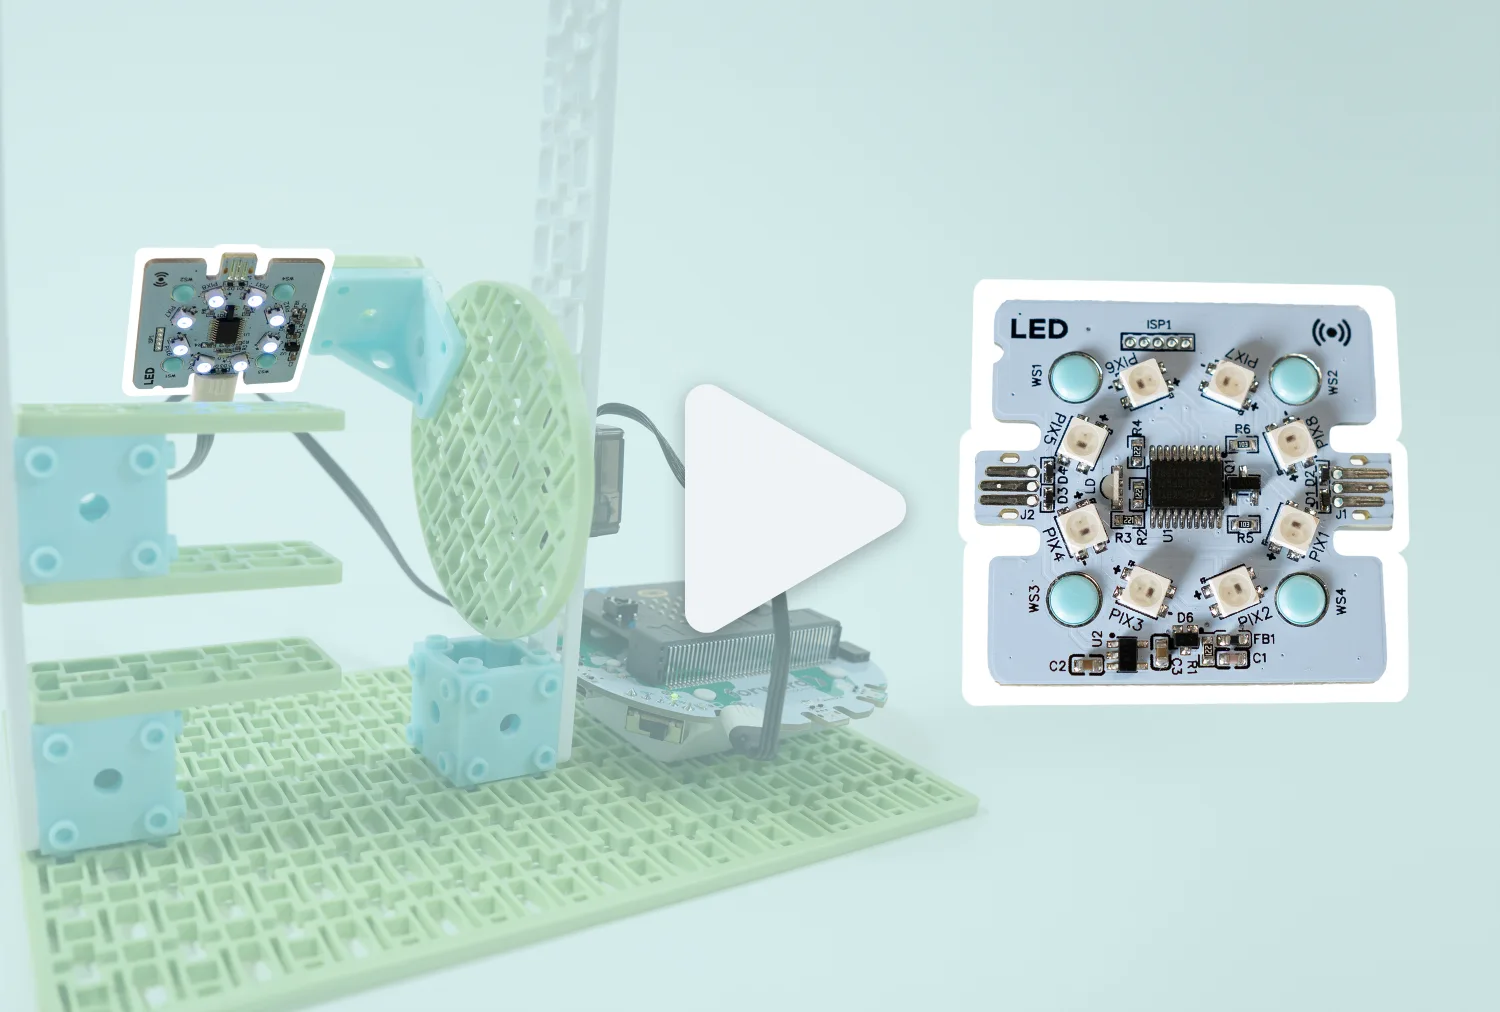
LED Ring
Learn about how to use your LED Ring in the Climate Action Kit. -
Touch Sensor
Learn about how to use your Touch Sensor in the Climate Action Kit. -
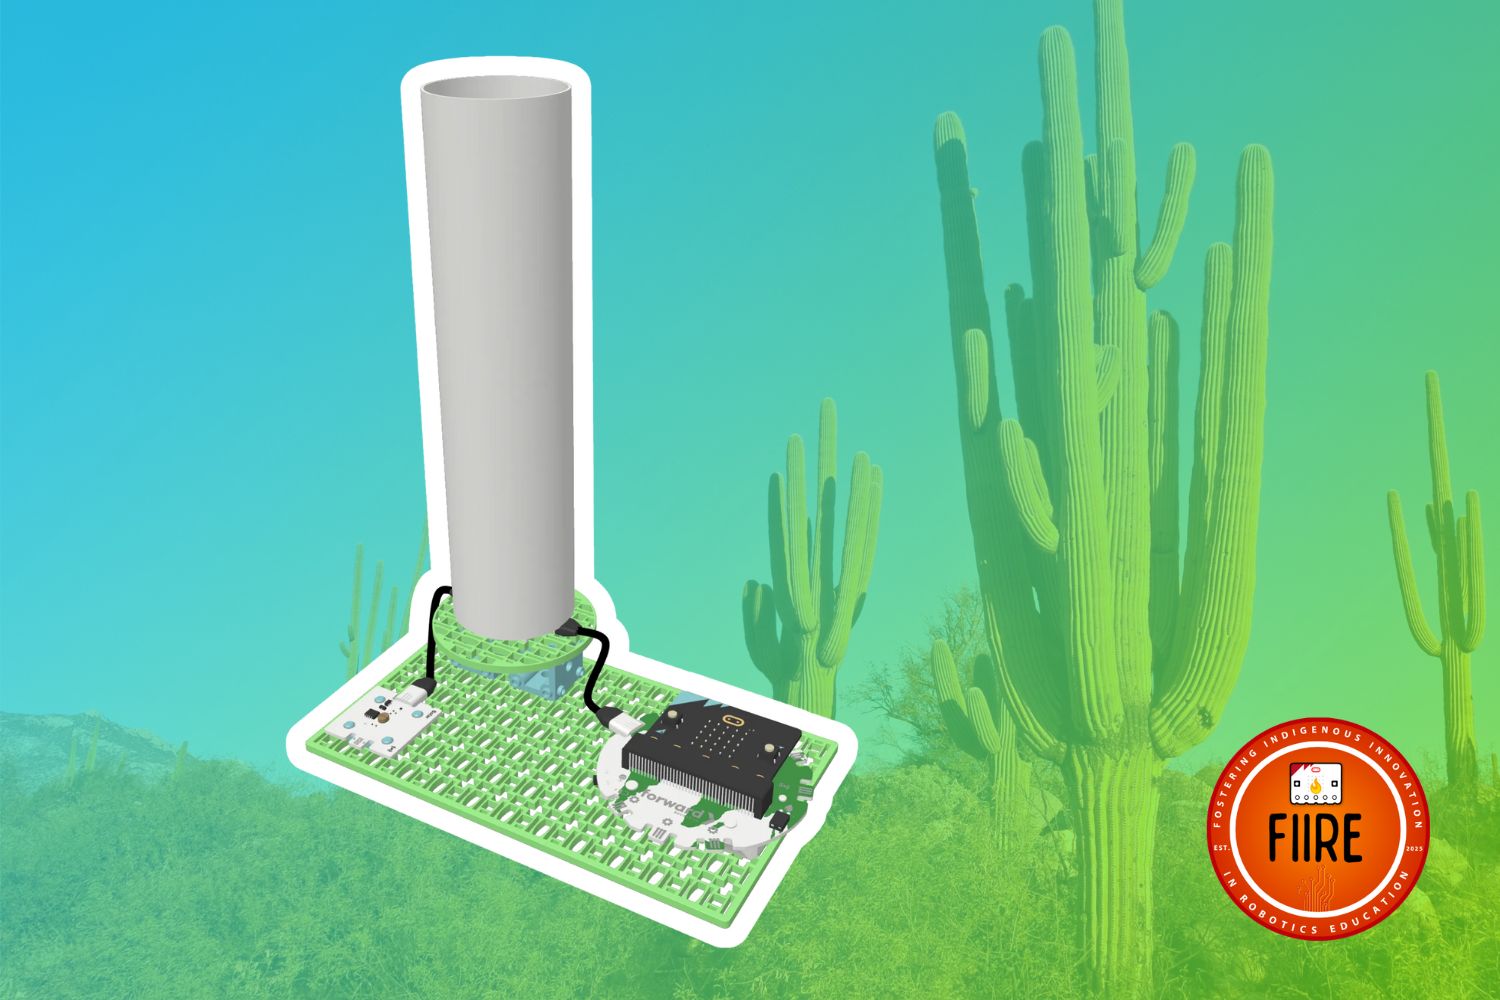
Monitoring the Ha:shañ
Understand the impact of extreme heat in the desert with this FIIRE Indigenous Perspectives project.
Feeling Stuck? Explore the Knowledge Base for common questions and troubleshooting tips.
